Diesel Motorhome Chassis Service
Helpful DIY Tips on How to Service Your Own
Class-A Diesel Motorhome Chassis
Article Date: August, 2009
Article and Photography by Mark Quasius
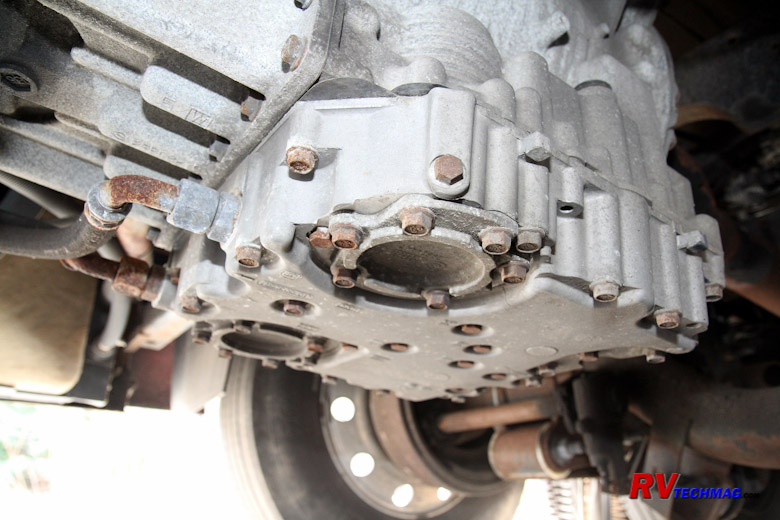
Chassis Maintenance
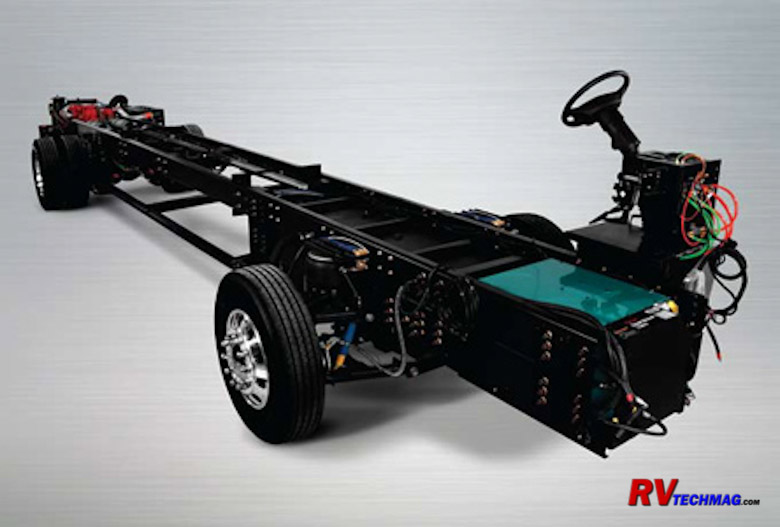
Brakes
Needless to say, brakes are one of the most important components of an RV chassis. The safety of your passengers relies
upon the proper performance and maintenance of this critical system. Brakes that get overheated can glaze. There are procedures to help restore
brake pads that are lightly glazed but if they are seriously glazed they just won't stop as the should and the shoes will need to be replaced
or relined. Freightliner publishes a procedure for burnishing lightly glazed brakes and I've posted a copy of that procedure at
This Link.
In addition, the brakes need to be kept in adjustment. Air brakes operate by applying air to a diaphragm, which then
pushes a rod to a link that rotates a shaft. There is a set of curved cams at the end that expand the brake shoes. As long as this mechanism
is properly lubricated, it will continue to apply the brakes. Be sure to follow your chassis owner's manual for exact locations of the grease
fittings that lubricate your brake components. The linkage that connects the air brake push rod to the braking cam shaft is called a
"slack adjuster". This arm is adjustable and is the only real adjustment you'll ever need to make to your brakes. In the old days, you'd block
the wheels and release the air brakes (if a spring loaded parking brake), then tug on the slack adjuster to pull the rod out of the brake
diaphragm. You'd tighten the slack adjuster and then back it off one full turn, which would give you an inch or less of free play when you
tugged on the arm. Naturally, all of the wheels needed to be the same or else you would have brakes pulling to one side instead of consistent,
even braking.
Today's air brakes use self-adjusting slack adjusters. If everything is working fine, they should self-adjust automatically
as you apply the brakes and shouldn't need any adjustments. However, you never know if they are working or not so it's still best to test them to
verify that the slack pull is equal on all unit. The rear drive axle uses spring loaded park brakes. If there is no air pressure these brakes
will lock up and won't release until air pressure builds up and you release the park brake knob. In order to test this axle you'll need to block
the coach, use the jacks, or whatever to keep it from rolling. Then release the brakes to check that axle. The front axle and any tag axle brakes
are not spring loaded so they can be checked or adjusted with the parking brake applied.
Air Compressors, Tanks and Dryers
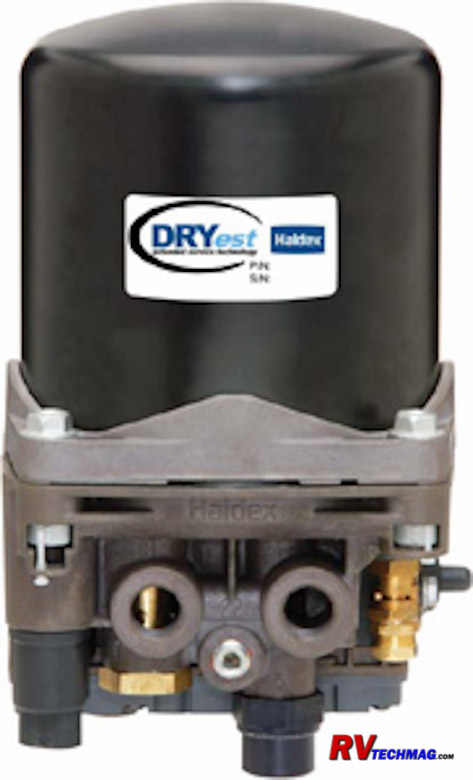
Air Dryer
In order to operate your air brakes and air-ride suspension system you will need to supply it with some air. An air
compressor is mounted to your diesel engine to provide plenty of air to operate your brakes and suspension. This compressor sends air out to air
tanks that act as reservoirs so that there is an adequate supply during every condition, such as repeated heavy brake applications. But, this
air needs to be clean. If there is moisture in the air lines in can freeze up in cold weather. The compressor is a mechanical pump so it is
possible that it can consume oil during its normal operation. Don't worry, it's fed by your diesel engine's oil supply so you won't have to
worry about having to check your compressor's oil level or change it. But, small amounts of that oil can get passed into its air discharge and
wind up in the braking system where it can damage the rubber diaphragms and components. In the old days truckers would always drain their air
tanks just before a trip to remove any emulsified oil and water sludge from the tank. This was a daily task and necessary to keep the air brakes
in proper working order.
Fortunately, heavy duty vehicles now are equipped with air dryers. The air dryer is located near the rear of your coach.
It is connected so that all of the air compressors output passes through the air dryer prior to reaching any air tanks. The air dryer will use
centrifugal force to spin the heavy contaminants down into a sediment bowl. A coalescing filter will prevent any water or oil from passing
through the dryer. This moisture and sludge will also settle in the bowl. To prevent the bowl from filling up an automatic dump valve is
incorporated that will dump the contents every time your air compressor reaches its governed air pressure. This quick burst will expel the
contents out through the port on the bottom. An electric heating element is also used to prevent the bowl or its contents from freezing in
cold weather.
Eventually the air dryer will fail to do its job once the coalescing filter is all used up. Some air driers have a
service schedule of 18 months while others have a 3 year cycle. You will need to verify your manual to see which one you have to see when
you need to service your dryer and replace the filter element in it. Note that this service schedule is based upon expected life expectancy.
If you operate your RV in dry climates you may get longer life out of your filter but if you operate in warm humid climates you may not reach
the average cycle time. That's why it's still important to drain your air tanks. You don't have to do this every day but it still needs to
be done. Except, this time you really are not draining the contents of the tanks as much as you are testing them. Normally, when you pull
the tank drain lanyards you'll hear the spit of dry air exiting the tanks. But, one day you'll notice that there's a fair amount of moisture
coming out. When this happens you'll now know that your air drier filter is no longer doing its job and it's time for service. So be sure to
make this tank drain procedure a regular part of your weekly or monthly inspection rather than wait until the published service life is reached.
Once the sludge gets into your brake diaphragms and valves you will have problems begin to develop so you want to prevent that from happening.
After the air leaves the air drier it then goes to your air tanks. Air tank layouts can vary from chassis to chassis but
the basics remain the same. All of the air goes first to the primary tank, also called the wet tank. Any moisture still in the air will expand
and condense, settling in this tank. Hopefully no moisture or sludge will pass beyond this point. After it leaves the primary tank it goes to
the secondary tanks. Generally there are two secondary tanks. One is for the front brakes while the other is for the rear brakes and air suspension.
They are separated by check valves so that a failure in one system won't impact the other system. After that there may be a ping tank or whatever
to help support the air bags at the rear of the coach. There are many variations to this layout but you get the general idea. Compressor first,
dryer second, primary tank third, and secondary tanks, etc later. Most coaches have three drain valves, one for the primary tank and one each for
the secondary tanks. Generally they are operated via cable lanyards that can be found in the front wheel wells. It's best to fill the air bags to
raise the coach when looking for these. Always use the awning hook to pull these lanyard rather than reach into the wheel well with your arm. If
the coach were to drop you could lose your arm.
Air Ride Suspension
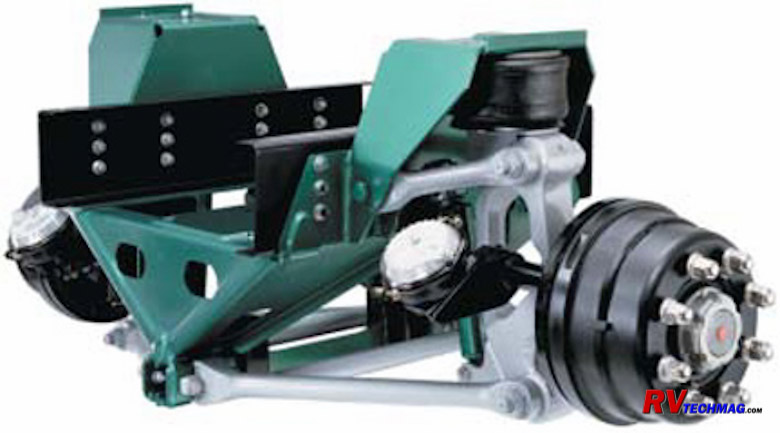
Neway IFS Suspension
There's two components to your front suspension - the air bag portion that actually suspends your coach and the mechanical
steering linkage that controls the front wheels. Your air bags are controlled by a series of valves. There's a dump/fill valve that either provides
air to all of the air bags to fill them up or dumps them all to allow the coach to drop down and settle. This valve is generally controlled by the
hydraulic leveling jacks control panel so that it automatically dumps the air from the suspension when the jacks are deployed and fills them back
up when the jacks are raised for travel. After that there is a series of height control valves, generally three but sometimes four, that control
how much air pressure is sent to the bags so that they achieve the correct ride height. If a heavier load is applied to the coach in any given are
it will settle and depress the arms on the appropriate height control valve, opening it up to allow more air into the bag. Once the bag has lifted
the coach to its proper height the arm will close off the valve to keep that amount of air in the bag. If the coach were to rise up in response to
a reduction of load, the height control valve would move in the opposite direction and bleed some of the air out of the bag. Once the coach settled
in at it's correct height the valve would then stop bleeding air and seal off the air pressure in the bag once again.
If the height proportioning valve is not properly adjusted your coach may wobble and wander all over the road. If you have
a handling issue the first thing to check (after your tire pressures of course) is the adjustment of these valves. Do this prior to any front end
alignment. This check should also be part of an annual service procedure. Refer to your chassis owner's manual for specifics on how to check this.
Outside of your air suspension system, there's lots of mechanical parts that will also need attention. The most important
item is a good grease job to prevent all of the moving parts that control the suspension and steering from wearing out or seizing up. For this
you'll need a good grease gun that you can operate with one hand. Be sure it has a flexible hose so that you can navigate around to the top of
those hard to get at grease fittings. You'll need one hand to guide the end of the hose and the other to pump the gun. Use a good quality grease.
Going cheap in this department is going to cost you later. I prefer a good moly based grease. The moly additive really helps keep the grease from
squishing out under load. However, there is one place on your RV that you do want to use a cheaper non-moly grease and that is your self-adjusting
slack adjusters. They need a certain amount of friction or else they won't self adjust so you may find it handy to have two grease guns and load
one up with each kind of grease. There's only a couple of these fittings so you don't need a real costly grease gun for them.
Be sure to read your chassis service manual carefully and then make a note of where all of these fitting are. Put them on
your checklist so that you can check them off as you do them. You don't want to miss any because it only takes one worn out part to sideline your
RV. If you have a solid front axle be sure to jack it up to remove weight from the tires when greasing the kingpin bushings. If you leave the
coach weight on the axle you won't get any grease around the thrust washer bearing and only half of the vertical kingpin will get greased.
Actually, whenever possible it's best to have someone sit in the cab and turn the wheel as you grease. That way the grease totally surrounds
everything and there are no bare spots. This helps for IFS ball joints as well as solid axle kingpins.
Front Wheel Hubs
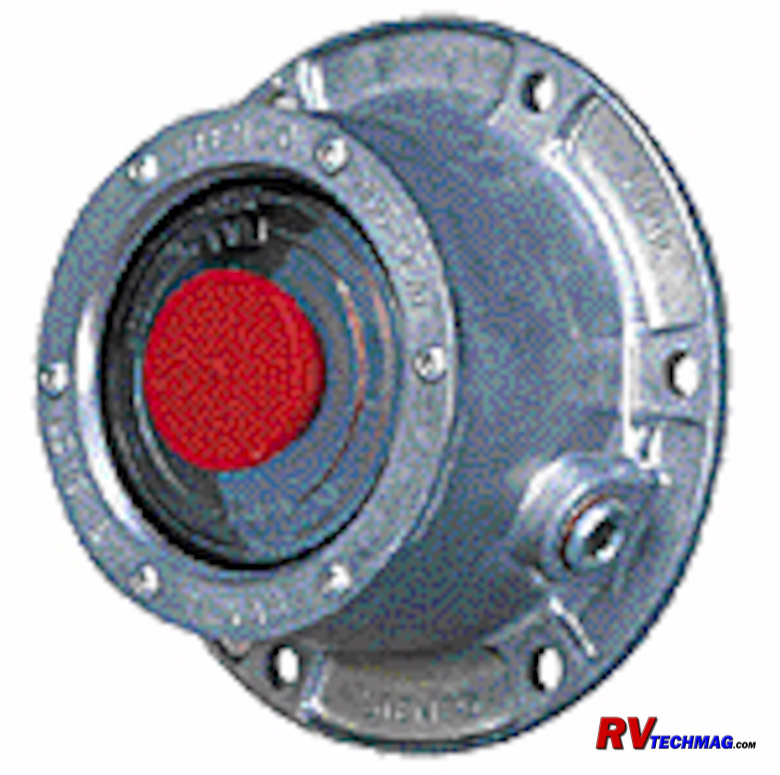
Stemco Front Hub Cover
Your wheel bearings are lubricated in one of two methods. The drive axle is lubricated via the gear lube from the rear axle.
While initially filled during assembly it tends to keep its own level due to the internal movement of the rear axle gear lube. It is sealed off on
the outside by a gasketed rear axle flange and on the inside by a typical wheel seal. The front wheel hubs don't have any extra source of gear lube
so they need to be properly filled and maintained. The front wheel hubs will have a hub cover, very similar to the one in the above image. The rubber
plug in the center is easily removed with a screwdriver. It is also vented so be sure that the small pinhole in the center isn't plugged or else
the pressure can build and push gear lube out past the wheel seal. You'll see a clear plastic window in the end of the cap with circular lines molded
into the window. This represents the full and add levels of the gear lube in the hub. Think of it as a rotating dipstick. If the oil level is between
the two lines you are fine. If it's too low, remove the rubber center plug and add some gear lube with a quart squirt bottle. Allow it to settle a
bit and recheck again. One it's all set, replace the rubber plug. Be sure to refer to your chassis manual for the proper weight gear lube to use for
your particular chassis. Note that tag axle wheel hubs are setup in the same manner.
Normally You have two potential places for any wheel hub to leak gear lube. Once it does leak it tends to sling the stuff
everywhere and pick up dirt so it's very hard to tell exactly where the leak is coming from. In that case it's beneficial to clean the area and do
a short drive and then inspect the area carefully. If your leak is coming from the wheel seal it'll sling out of the backside of the hub and you'll
see it on the rear of the tire. If you see an oily mess inside your hubcap and wheel rim, it's not the rear wheel seal. In this case it's most likely
a gasket. A drive axle can have a leaky flange gasket or a steer or tag axle can have a bad gasket on the aluminum hub cover casting. Once these leak
it's pretty much impossible to stop the leak by just tightening it. You'll need to replace the gasket. I prefer to add a good gasket sealant to the
gasket as well because the thin gaskets can use the help in that area. If you have one of these leaks it's also important to check the aluminum
retaining ring that holds the plastic inspection window in place. It's held in with a ring of 6 small Torx head screws. There is a small white elastic
gasket that probably cannot be salvaged once the screws work loose. In this situation I've removed the retaining ring and applied clear silicone as a
gasket and reassembled with good success.
Your manual probably gives you a schedule when the gear lube needs to be changed. To do this you'll properly need to remove
the hub cover, then suck the gear lube out of the hub cavity, replace the gasket, and reassemble. If you rotate the hub cover so that the hex head
plug faces down you won't be able to drain all of the gear lube from the cavity. If you do it this way be aware that you are only changing half of
the gear lube.
Return to Home Page
If you enjoyed this article be sure to recommend RVtechMag.com to your friends, like us on Facebook or Twitter
or subscribe to our RSS feed.


|


