SureCall Fusion 4 Cell Phone Booster
Installing a Cell Phone Booster in an RV
Article Date: November, 2017
Article and Photography by Mark Quasius
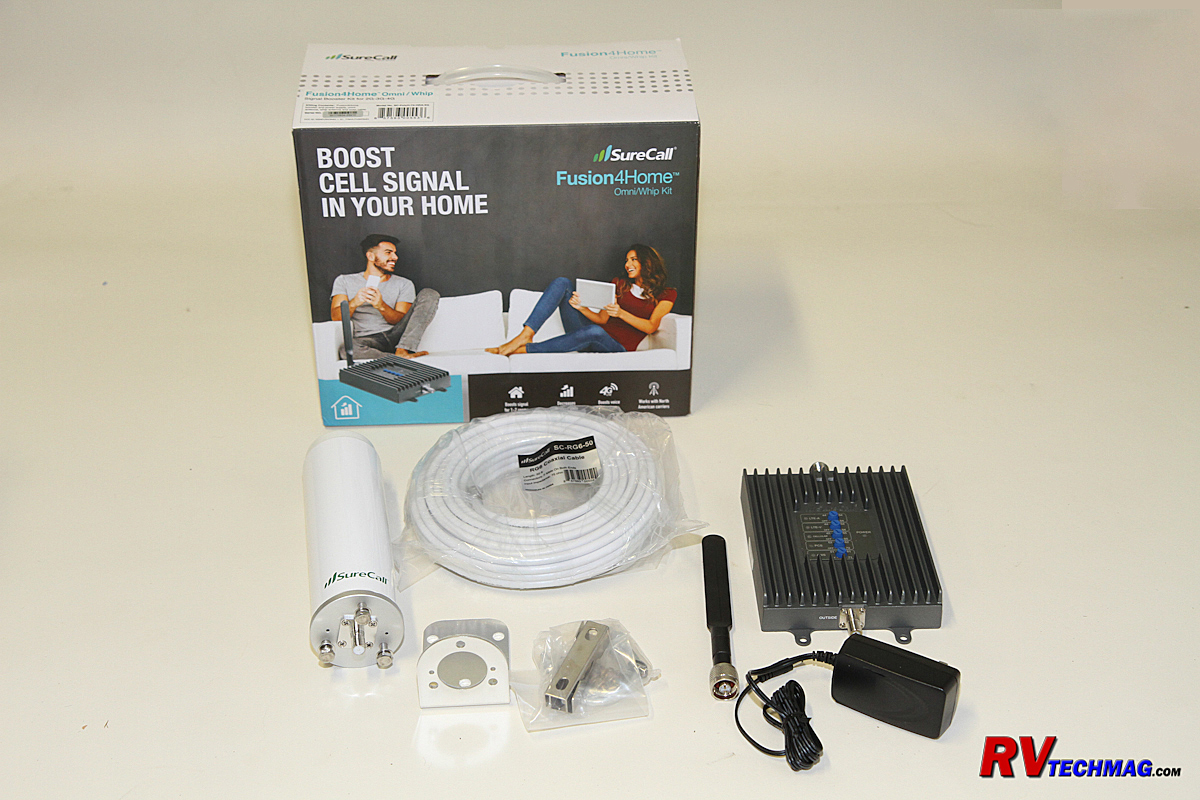
Being connected to cell service is becoming more of a necessity than a luxury. But traveling in an RV oftentimes leads to out
of the way places where cell signal strength can be very week, making it hard to catch up on your email, via the latest weather app, or call or text
with friends or family. In these more remote locations a cell phone booster can make the difference between getting a strong, usable signal or being
out of communication.
Specific units are available for RV applications, many offer the ability to operate on 12 volt battery power. But many motorhomes
are equipped with inverters that utilize 12 volt battery power to provide 120 volt AC power. These units generally provide more power at a better price
and are a better value for any modern motorhome owner. For my particular choice I selected a Fusion 4 booster by
SureCall. SureCall makes various models
but this model offered the best price versus performance value.
Cell phone boosters are equipped with two antennas. An outside unit communicates with the cell tower and connects to a control
module which amplifies the incoming signal, then rebroadcasts the stronger signal through an interior antenna which communicates with your cell phones
or air cards. The Fusion 4 can be configured with various outside antenna choices. Because these systems are designed for residential use, the best antenna
will vary depending on the layout of the residence. A flat panel or yagi antenna is very directional and will give you the strongest signal but it must be
aimed at the cell tower, which works fine in a fixed base application but
not so great for an RV which moves around from location to location. An omni-directional
antenna will have a bit less of a signal but can pick up cell signals within a 360 degree
radius of the antenna so this is the best choice for an RV.
Cell Booster Technology
The outside antenna communicates with the cell tower. In a fixed base location you would utilize a cell phone app to locate the
strongest signal area for mounting your antenna but in an RV this isn't necessary. However, you do want the outside antenna to be located outside the RV to
eliminate any signal degradation caused by steel or aluminum wall studs or roof joists.
Similarly, you don't want to mount it right next to a rooftop air
conditioner which could also cause interference with the cell tower's signal. It's recommended to keep a minimum 12" radius
around the antenna clear of
obstructions or radiating elements. A second consideration is that the inside and outside antennas need to be separated from each other by a reasonable
distance. The signal booster has a small rubber ducky style antenna that
attaches directly to the booster so you'll want to locate the signal booster and
outside antenna as far away from each other as possible. To achieve maximum signal boost the antenna separation should be 40' or more. If the separation
between the two less you may have to dial back the signal strength on the booster module. Obviously, the best location for the outside antenna is on the
opposite side of the RV as the signal booster
The outside antenna connects to the booster via a supplied coax cable. This cable needs to be run from
one end of the RV to the
other end where the booster is located. The signal booster also needs to have power in order to operate. A small transformer plugs into a standard 120 volt
receptacle and provides low voltage power to the booster. These are considerations to take into account when deciding which end of the RV to place each
component.
Not every cell service uses the same band. Some brands of boosters may not work on your particular cell service and even if it does,
should you ever change cell service providers in the future you might be stuck with a booster than no longer works with your new provider. The
SureCall
Fusion4 handles all 5 bands - LTE-E, LTE-V, Cellular, PCS and AWS. It handles all cellular standards. The booster itself draws less than 15 watts of power.
The Installation
Step one was to decide where to mount the components. I had 120 volt power receptacles in the front overhead cabinet and easy access
to get up through the roof to run the coax cable to the back of the coach where I could easily mount the outside antenna. The roof mounted awnings were flanked
by raised portions on the front and rear cap, which made it easy to access the
front cap area to feed the coax cable to the signal booster and also gave me a
place on the rear cap to mount the outside omni directional antenna. This gave my about 45' of separation
between the two, which was ideal.
|
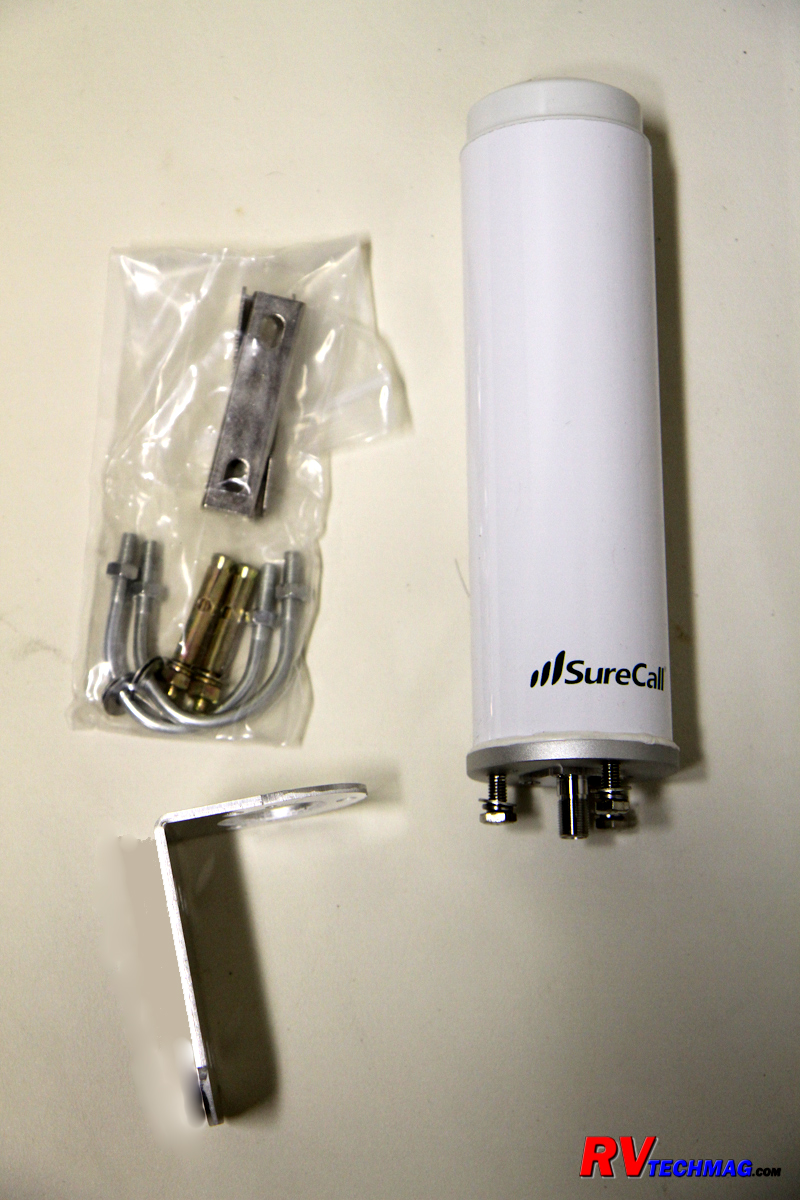
The outside omni-directional antenna came with an offset bracket to mount the antenna to. This bracket can be mounted directly to a
flat surface or it can be mounted to a pipe mast with the enclosed u-bolts.
|
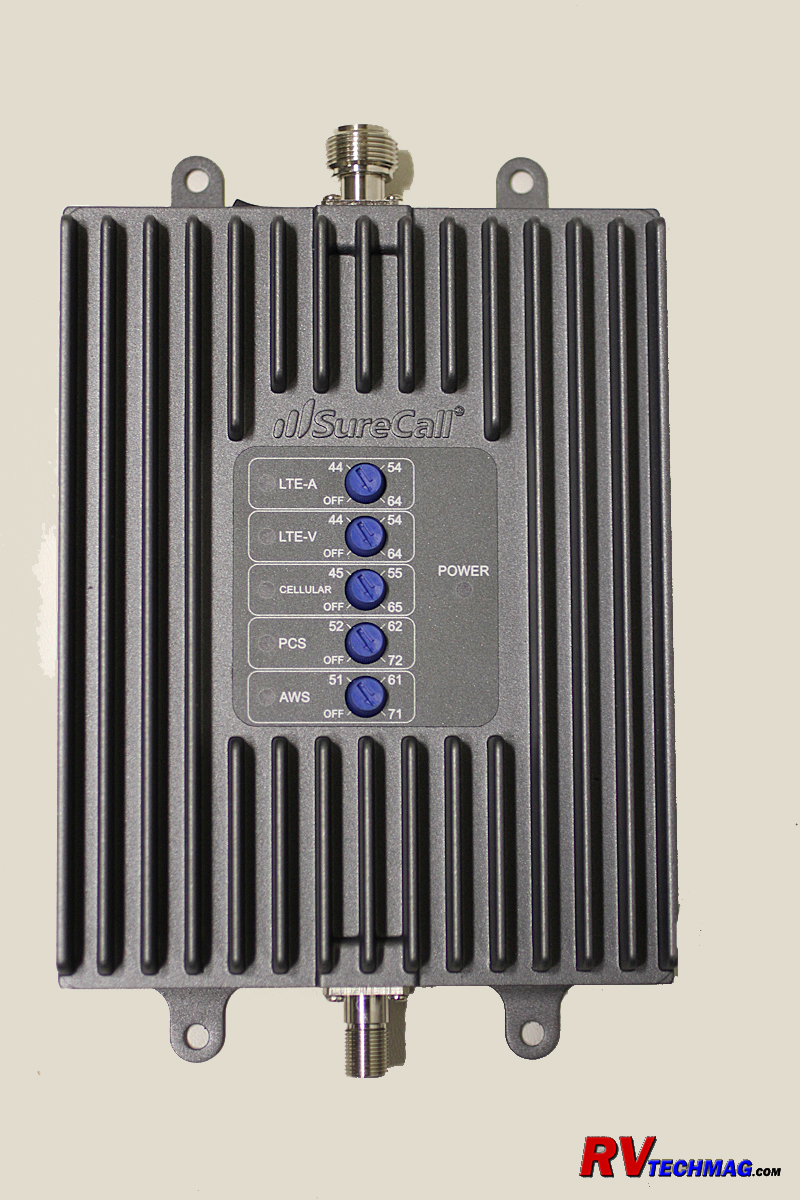
The signal booster is equipped with attenuating knobs to reduces the signal amplification in areas where the outside antenna is too
close to the signal booster's inside antenna.
|
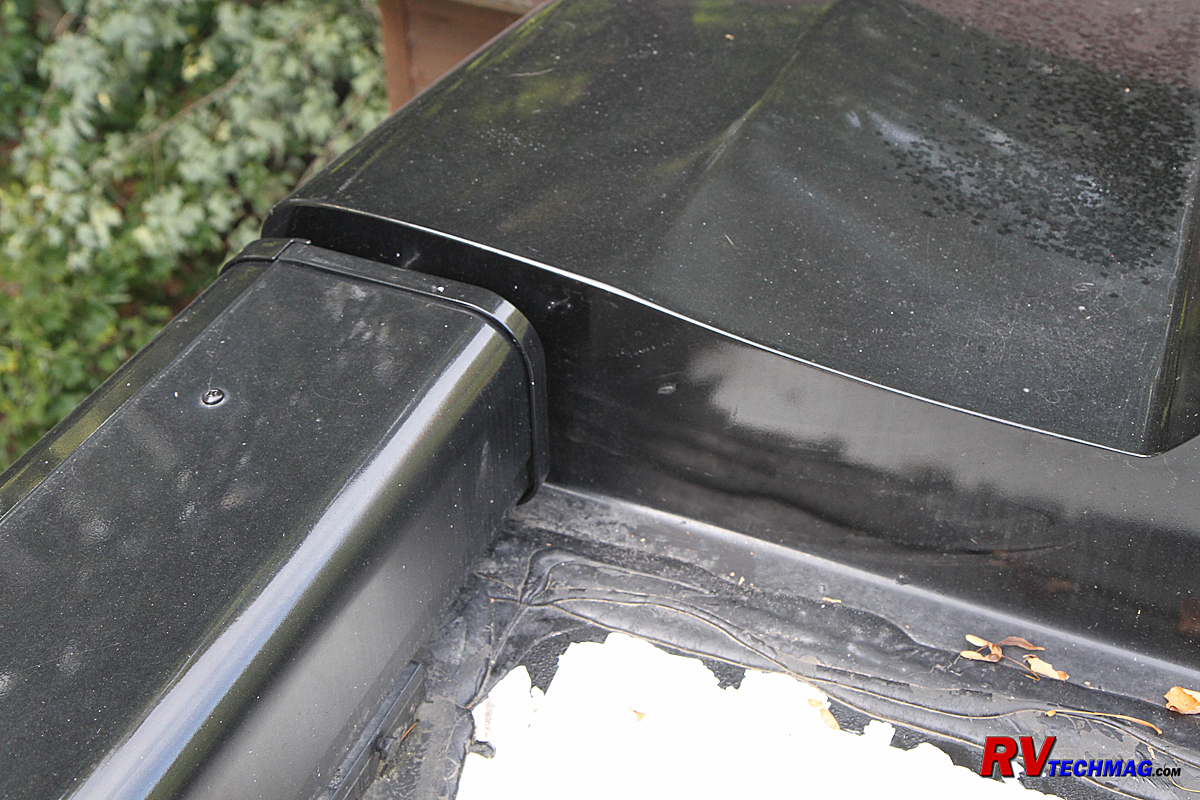
I chose a location on the backside of the front cap where I could fish the coaxial cable into the front
cap area where the signal booster would be located.
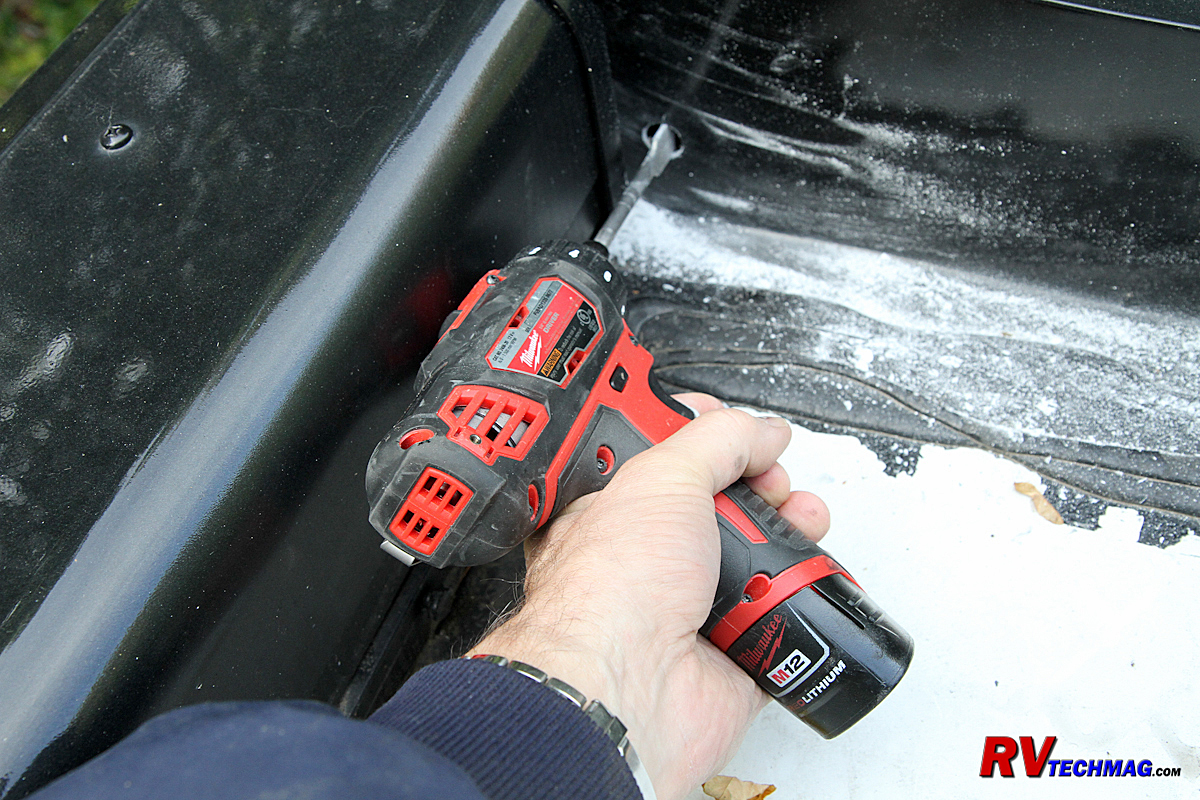
I used a drill to make a hole large enough to pass the coax cable and nut through.
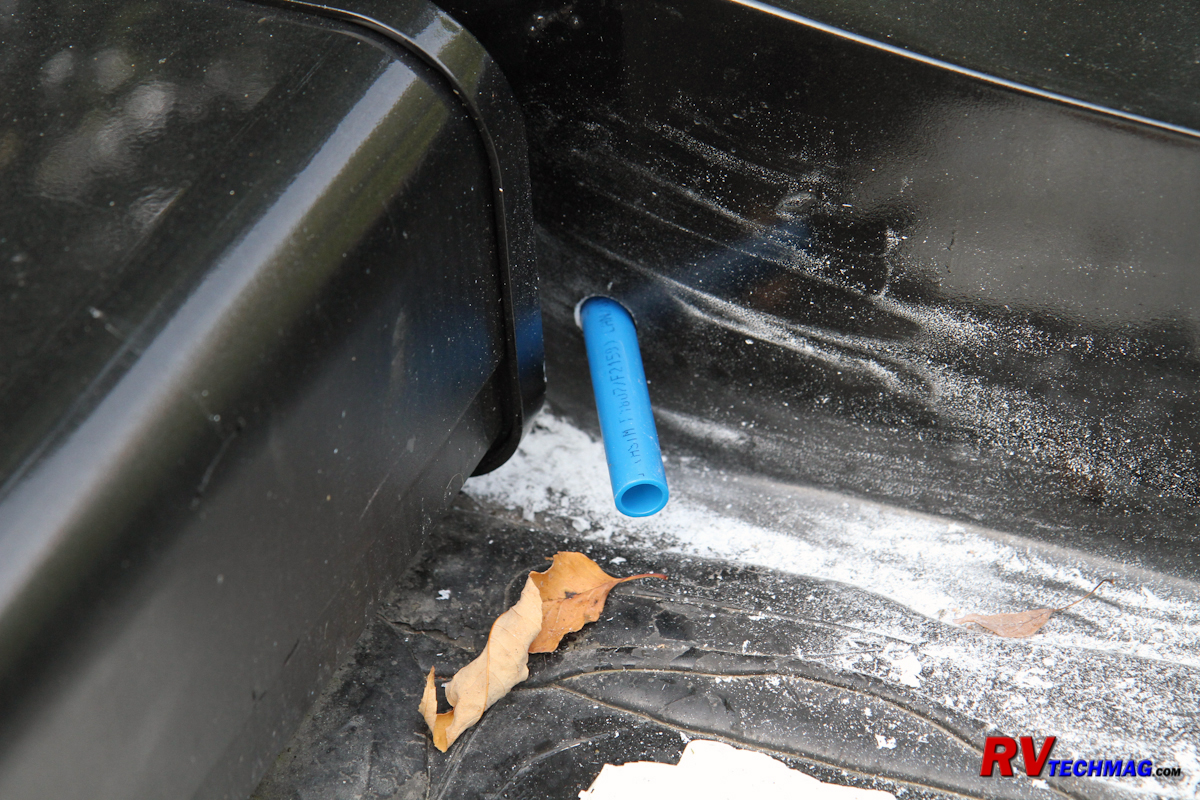
A fish tape bent too much so I used a piece of Pex tubing to fish through the fiberglass insulation
to the front compartment where the booster would be located.

Once the cable was through the cap I installed a cable access cover over the hole. Sikaflex sealant
was later applied over the cover to ensure a water-tight seal.
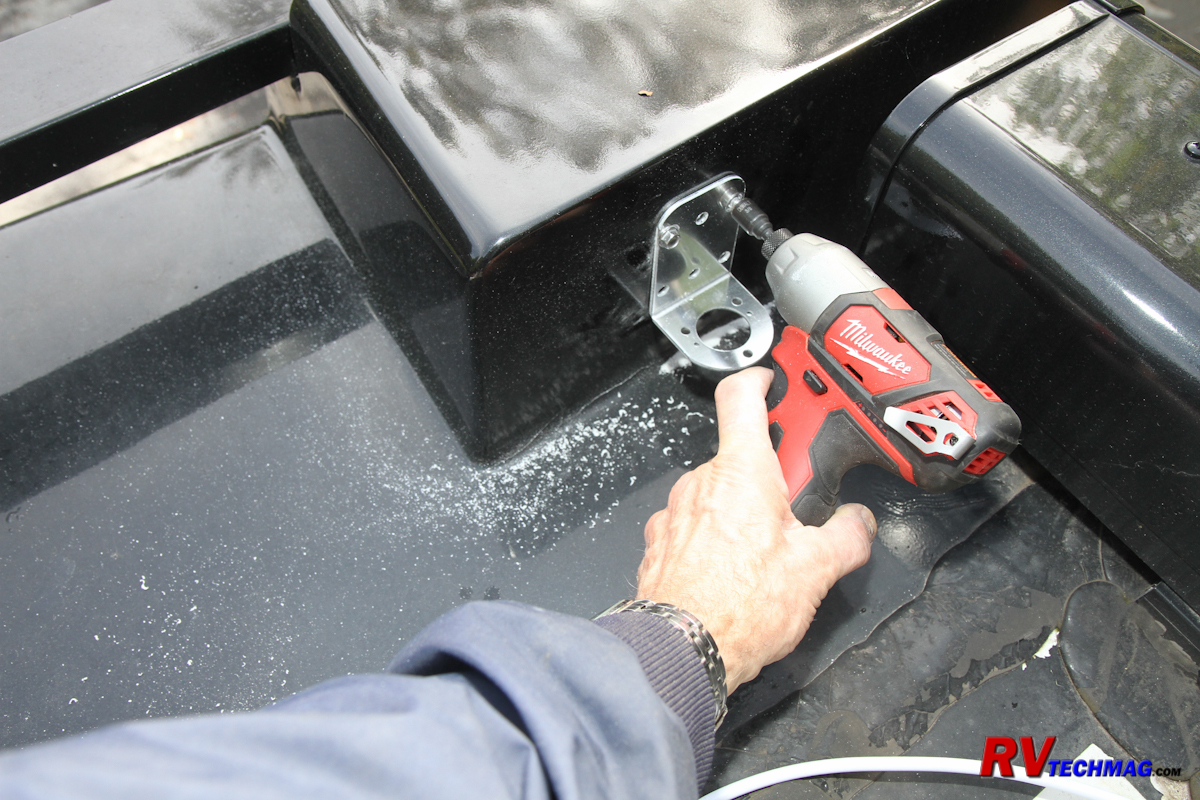
I chose a similar location on the rear cap to mount the outside antenna. The supplied bracket was
attached to the cap with large self-tapping screws.
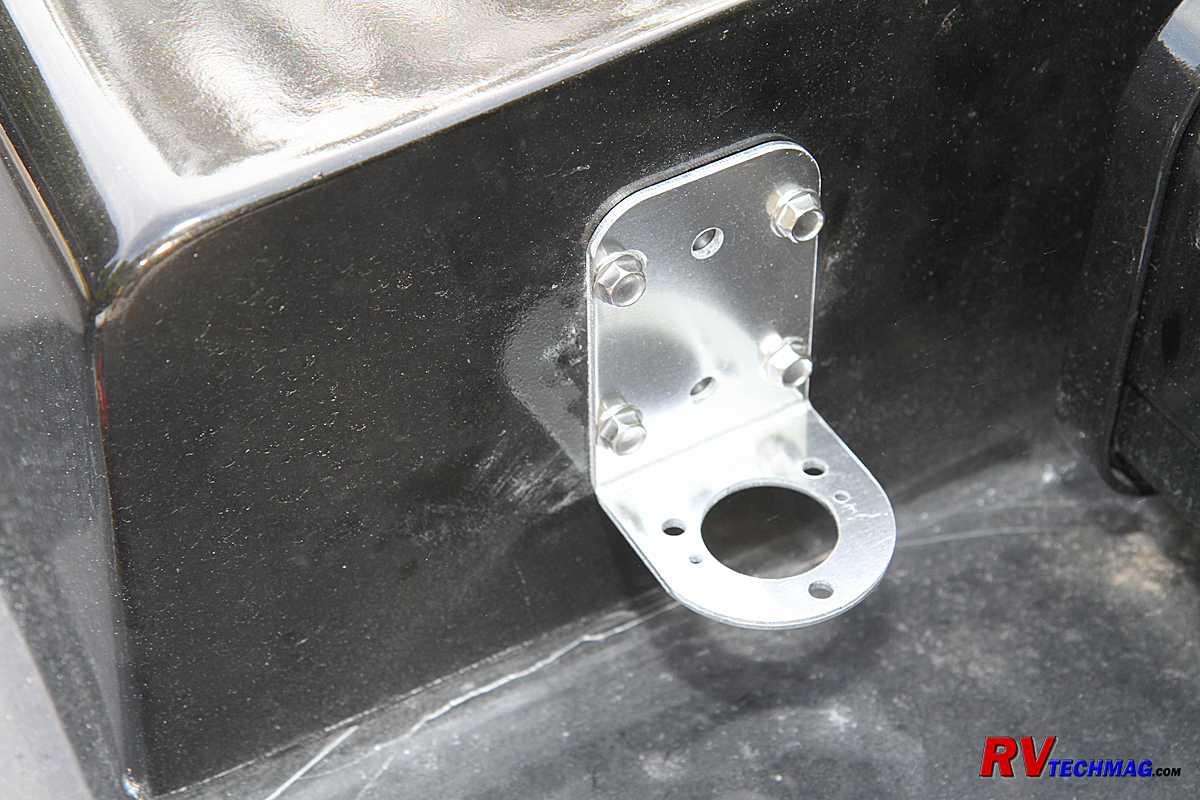
The installed bracket. Sealant was later applied to prevent any water intrusion at the screw holes.
|
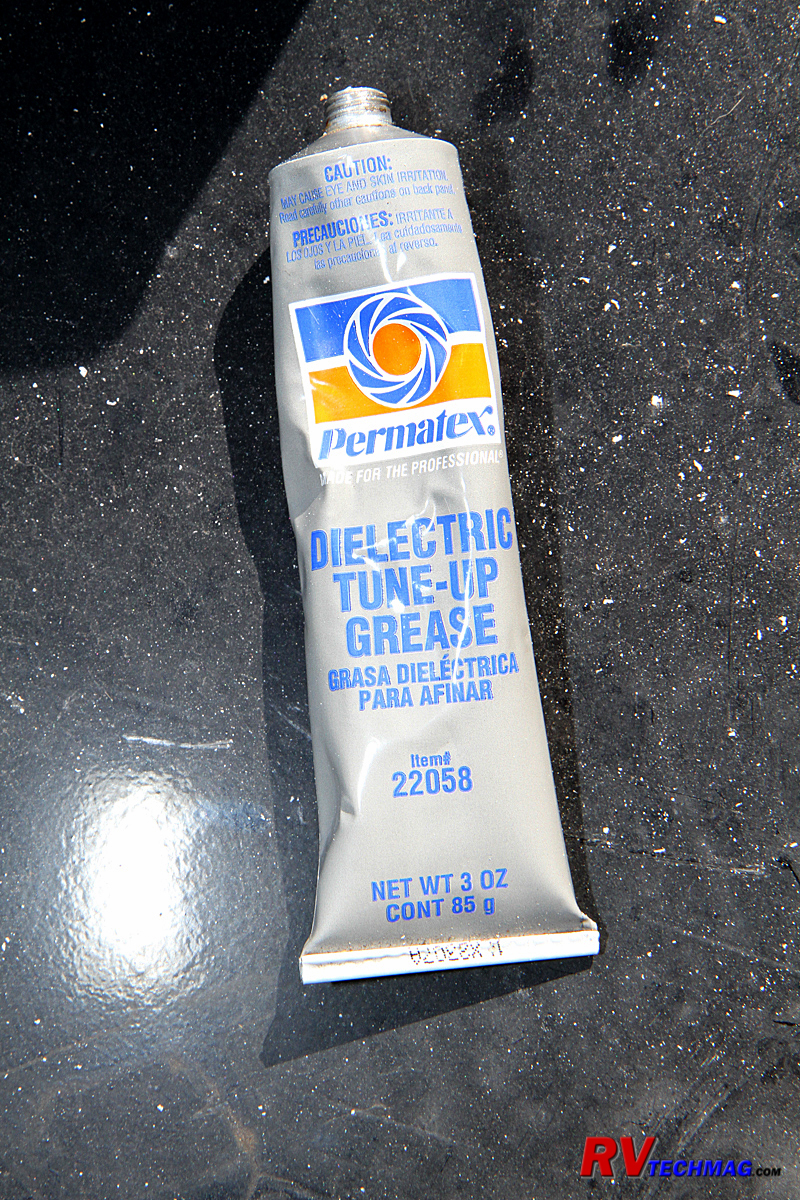
Dielectric grease was used at the coax connection on
the outside antenna to prevent any corrosion.
|
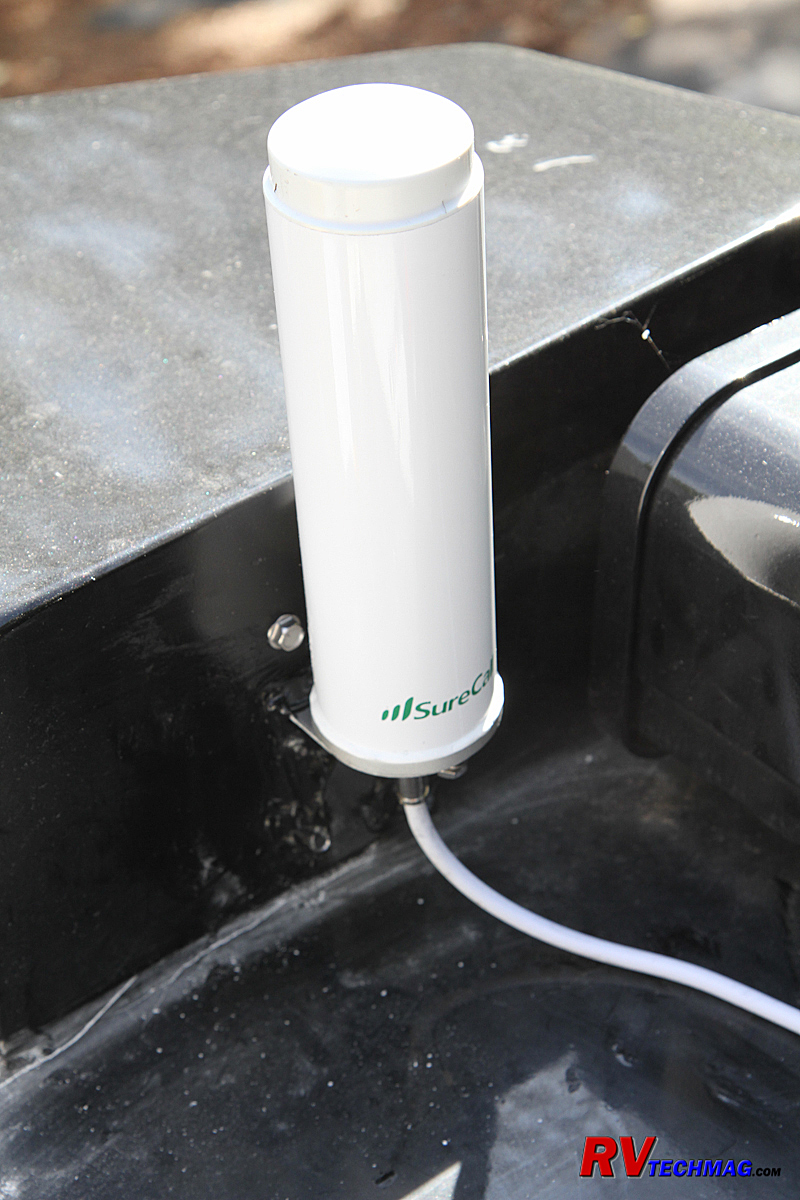
The outside antenna was mounted to the bracket with 3 stainless steel machine screws.
|
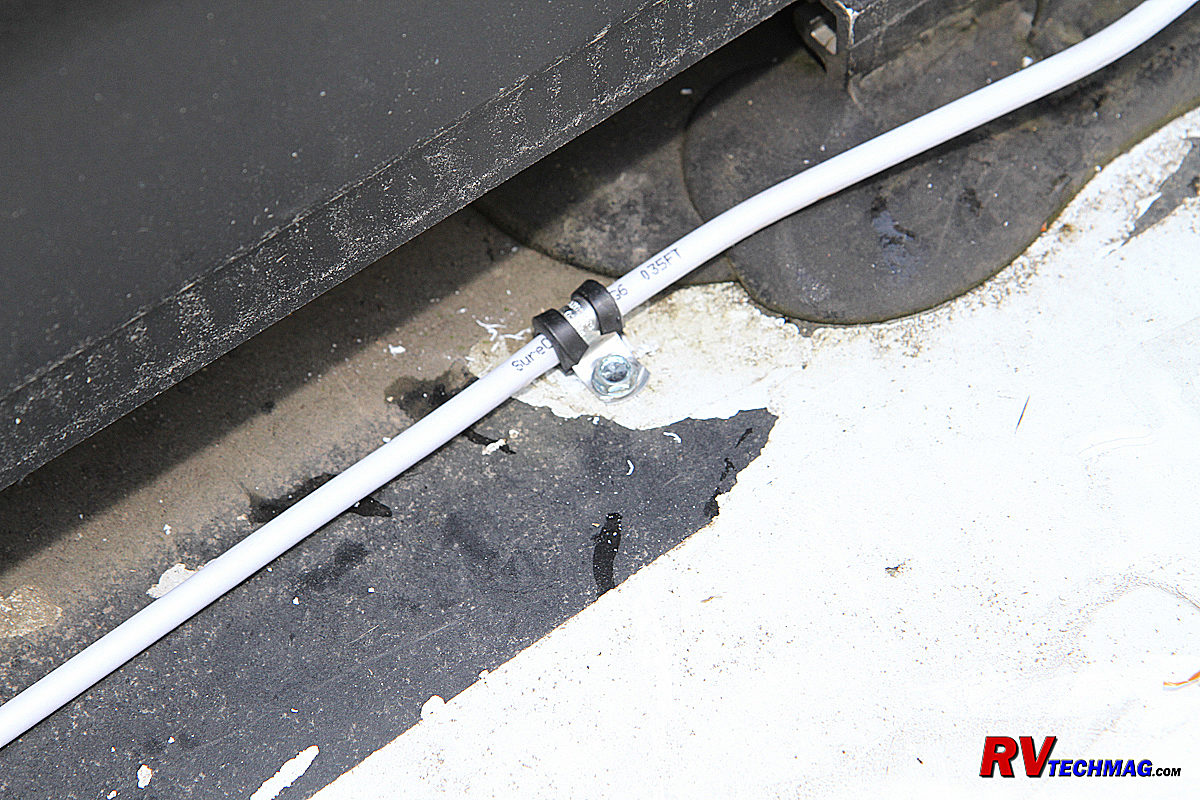
The coax cable was supported at intervals along the roof with stainless steel rubberized hose clamp.
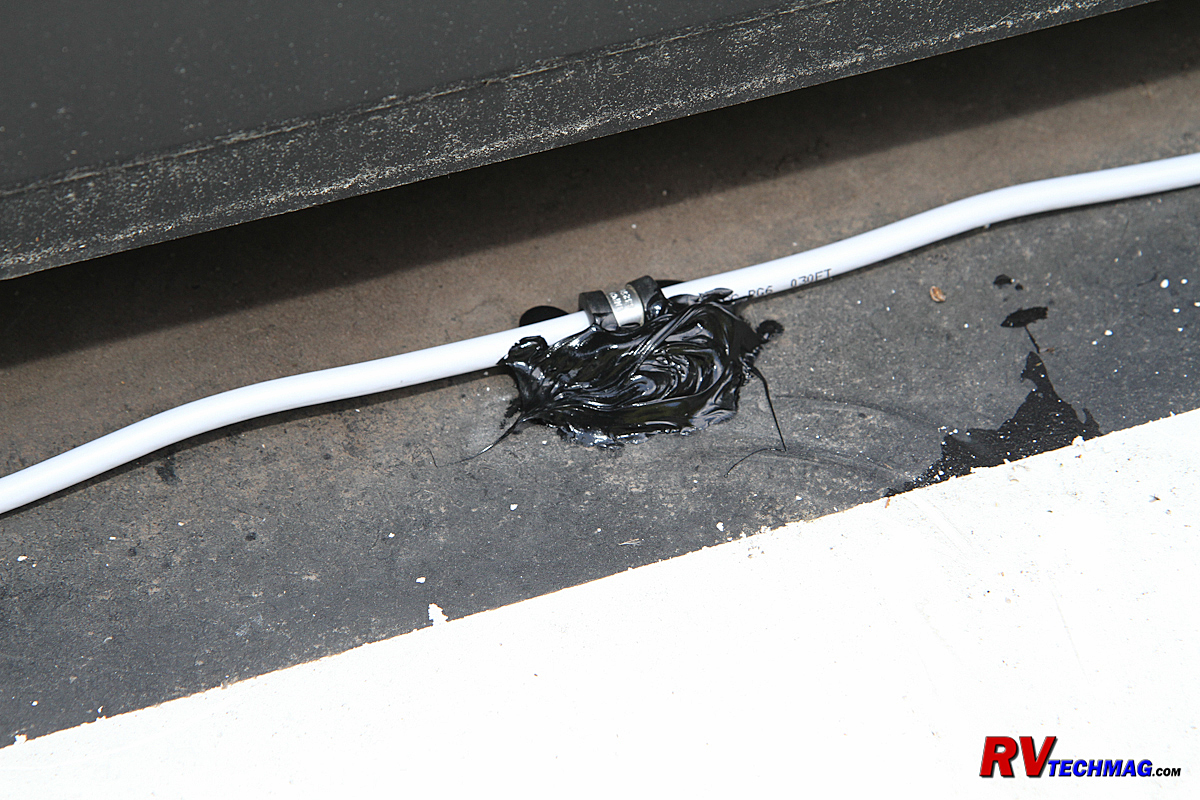
Sikaflex sealant was applied over the screw heads on each clamp to prevent water intrusion.
Once all of the outside work had been completed I moved to the inside where I had fished the coaxial cable to for
the signal booster. I removed a side panel in an overhead cabinet directly above the driver's seating position and brought the cable into
that cabinet. I replaced the panel, mounted the booster to the panel and connected the cable. I then plugged in the AC power supply into a
nearby outlet and connected it to the booster's power input port. The unit immediately fired up.
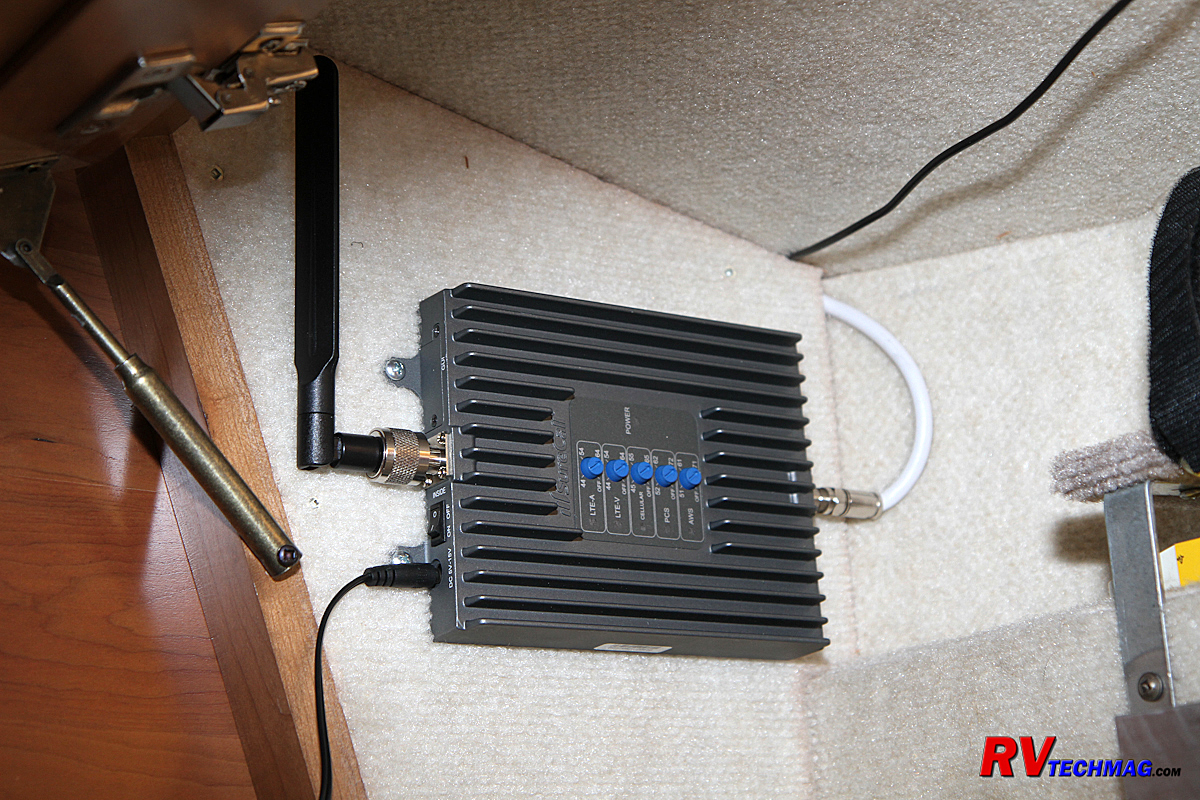
The booster was located in a front overhead cabinet.
Summary
The booster does a great job. In areas where I once had only 1 bar on my iPhone I now have three bars and a much
stronger signal. Web pages render faster and apps run faster. The system was less expensive than the dedicated RV systems handles the
latest 4G signals. The differences between the Fusion4 Home and the Fusion2GO RV is that the RV system only has a 50dB gain versus 72dB for the
home system, the RV system costs more and it uses a 12 volt DC power connection versus 120 VAC. For a closer look at the Fusion4 Home system
take a look at the Fusion4 Home Owner's Manual
available on our server.
Source
SureCall
(888) 365-6283
www.surecall.com
Return to Home Page
If you enjoyed this article be sure to recommend RVtechMag.com to your friends, like us on Facebook or Twitter
or subscribe to our RSS feed.


|


