Airplate Installation
Restoring the Cool to an Electrical Cabinet
Article Date: July, 2016
Article and Photography by Mark Quasius
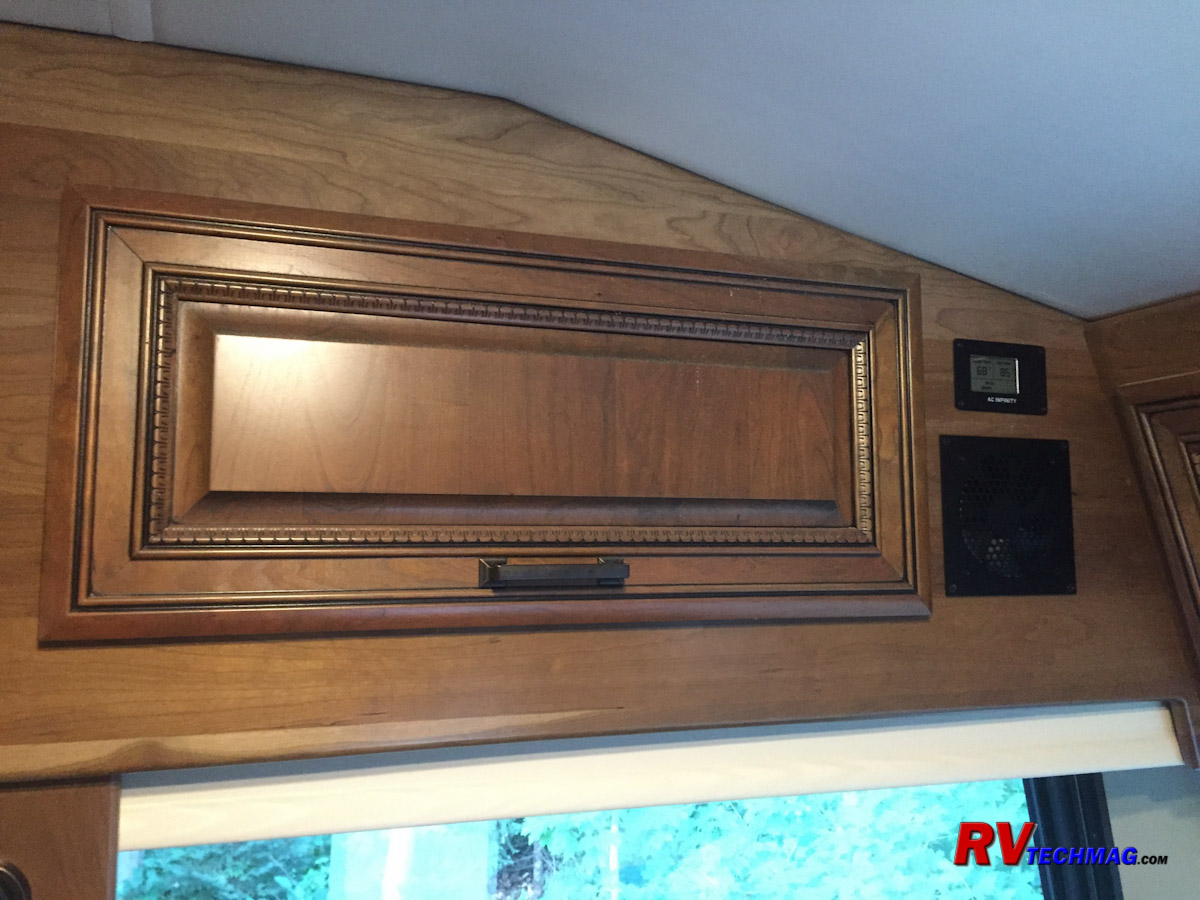
Electronics and electrical components can generate a fair amount of heat. When located in a large area this isn't an
issue but sometimes these components are found in smaller enclosed areas that allow heat to build up. Electronics that overheat tend to fail so keeping
them cool is a high priority. Some owners reported that their air conditioning circuit breakers would trip when the system was working in extremely hot
and sunny weather. The combination of the heat generated by the breakers under heavy use plus the heat input by the hot sun can cause these breakers,
which operate thermally, to prematurely trip. Our coach had two breaker panels in a fairly compact overhead compartment that was impacted by the sun on
its exterior. I decided that the best move was to add some ventilation to this compartment.
I determined that the best method was to add some forced air ventilation, which would require a fan of some sort. It would also
need to be thermostatically controlled so that it would only operate when needed. I considered 120mm computer fans, which I've used for other projects
in the past but wanted something that didn't require a lot of makeshift mountings and would look attractive. After doing a bit of research I came upon
the Airplate system by AC Infinity. This system is designed for cooling entertainment system cabinets, which was a similar situation to my breaker panel.
The system includes a large cooling fan and a remote controller with temperature probe. The Airplate is available in either a single fan or double fan
configuration. The temperature controller also has the ability to daisy chain additional fans. The controller is connected to either a USB power source
or to an included AC adaptor that provides 5 volt USB power. The controller also passes through 5 volt power to operate the fans.
The System
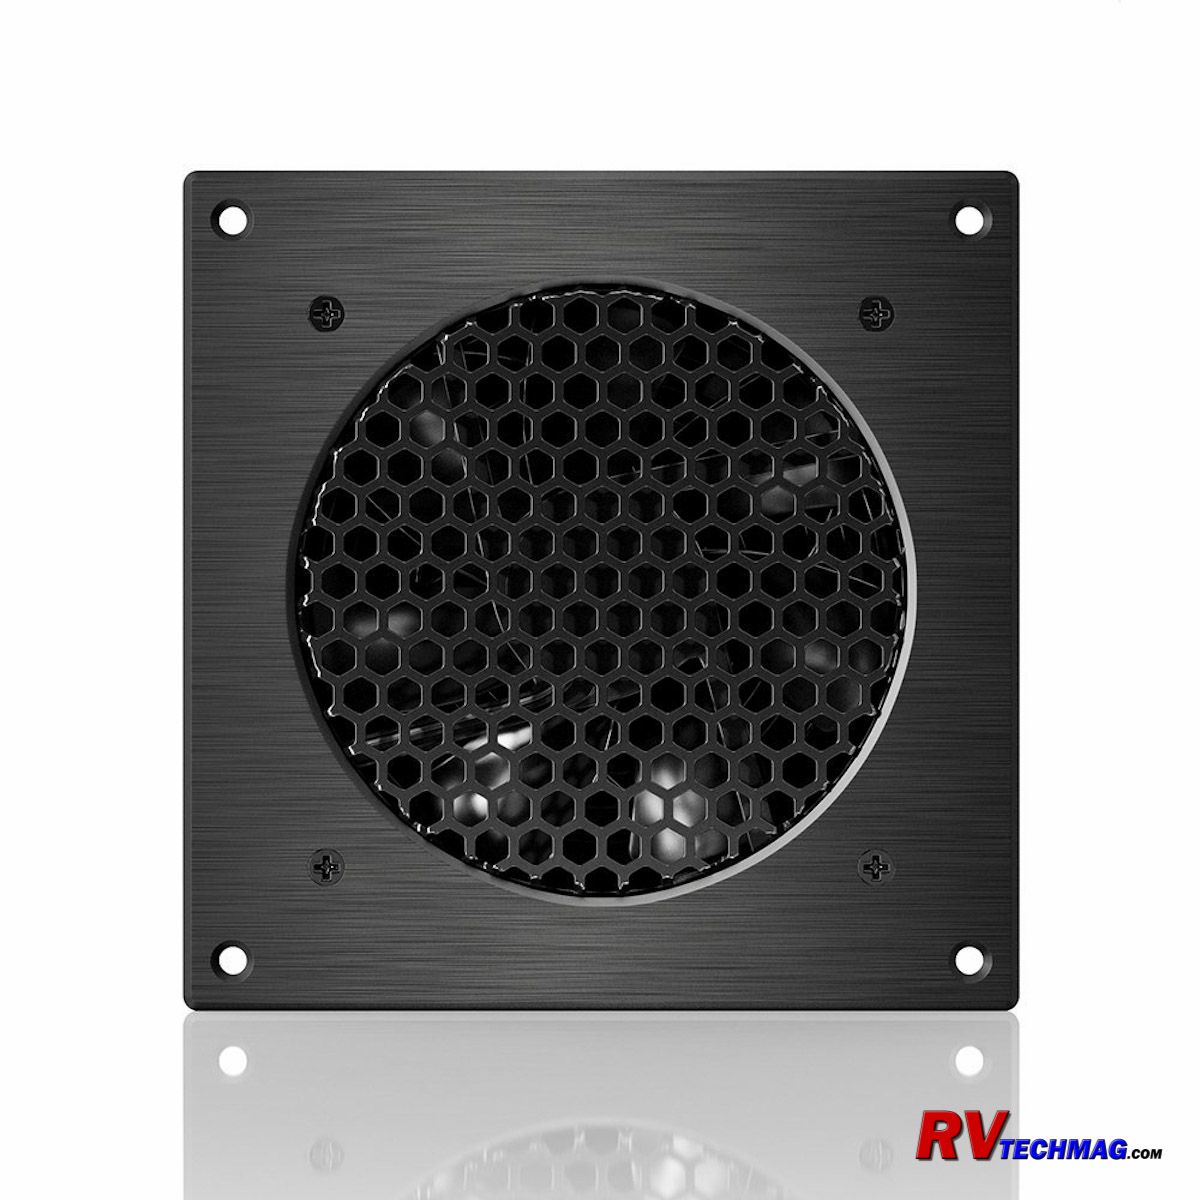
I decided that the single fan system would be ideal for my application. The single fan Airplate produces 52 CFM of airflow
with a nice quiet decibel rating of only 23 dBA. It provides more than enough airflow for my needs and offers a clean look that won't look out of
place in our coach.
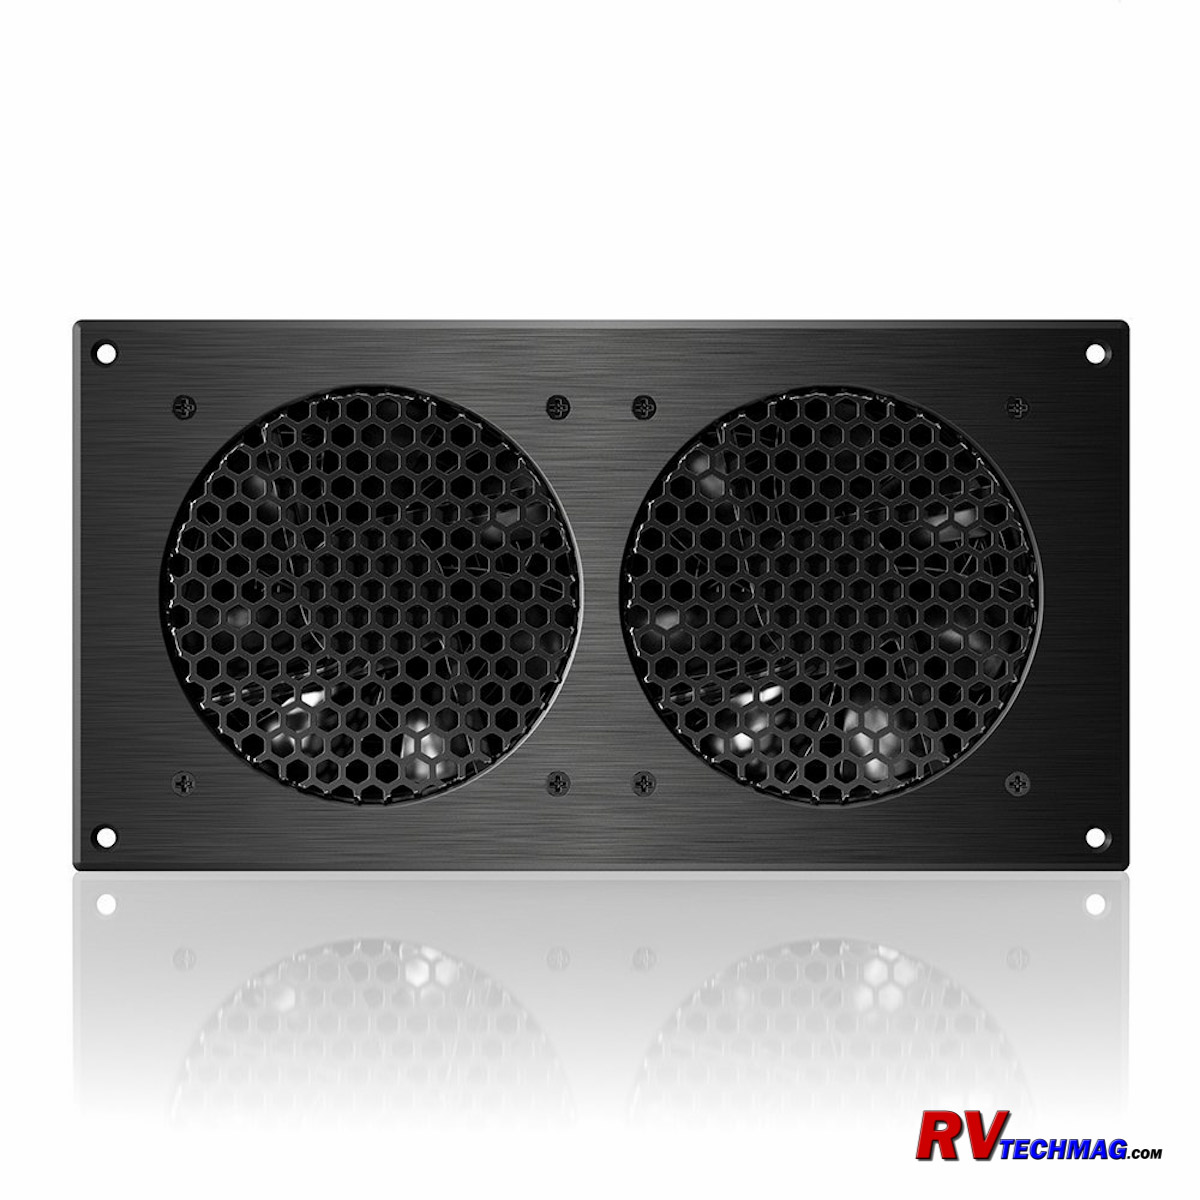
For those applications that require more airflow, a dual fan Airplate is available. This unit is physically larger
and produces 104 CFM at 26 dBA.
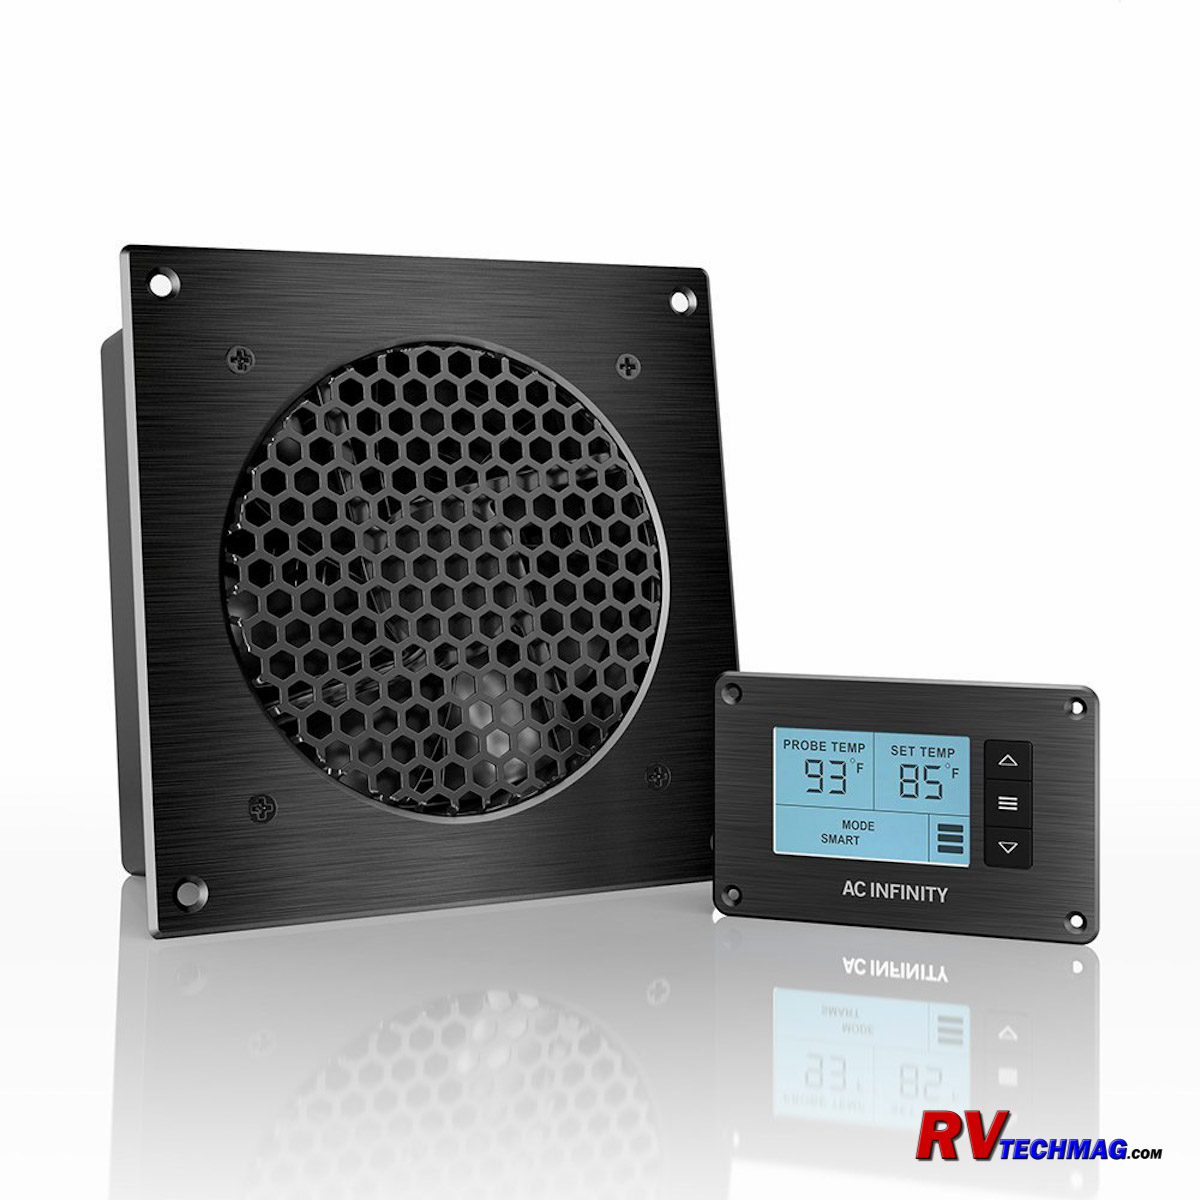
The Airplate includes a temperature controller. This LCD controller includes a remote temperature probe that can be placed
in the area to be monitored. The current temperature is displayed on the screen. The set temperature is the temperature at which the fan will turn
on and is also displayed on the screen. This temperature can be adjusted by pressing the up or down arrow buttons on the controller. The LCD display
is backlit and will illuminate whenever one of the buttons is pressed so that it can easily be seen in low light conditions. After a few seconds
the screen will dim but is still easily visible during daytime lighting. The mode button cycles through four operation modes - off, on, auto and
smart mode. "Off" will shut the system down so that the fan will not run. The "on" mode will run the fan regardless of what the temperature is.
Auto mode will operate the fan whenever the temperature sensed by the probe exceeds whatever temperature you have set in the controller. In either
of these two modes the fan speed can e low, medium or high and is selected by toggling the arrow buttons shortly after selecting the mode. A Smart
mode is also available. This mode will operate the fan whenever the set temperature is reached, just as in the Auto mode. However, the fan speed will
vary automatically. It will initially choose low speed, then increase the fan speed if the temperature differential rises. In most cases this is the
most practical mode of operation.
The Installation
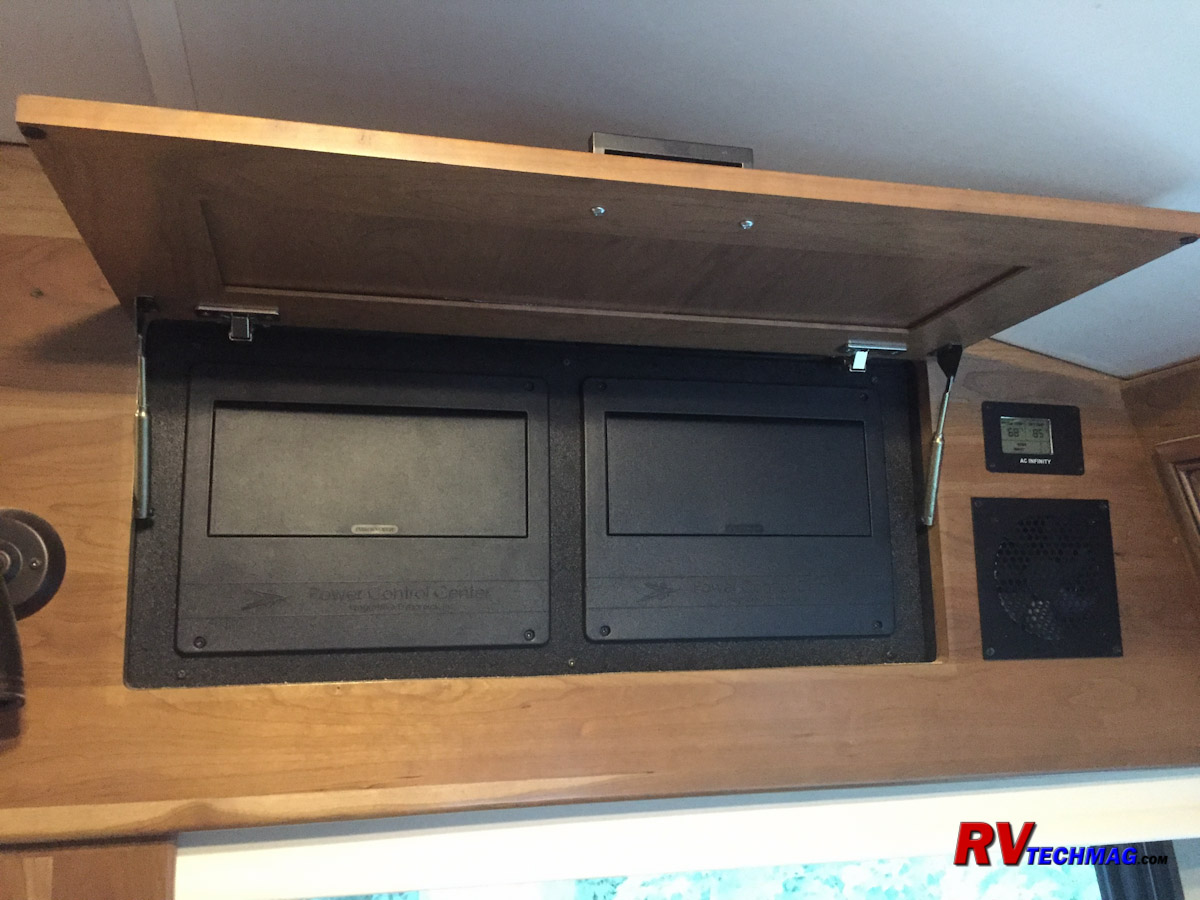
Our two breaker panels took up a fair amount of room in the overhead compartment to the left of the driver's seat.
this was a fairly shallow compartment but I found room to the right of the panels where I could install the Airplate fan and controller. The
Airplate included plastic templates for both the fan and controller so I masked off the area with green masking tape and traced the template and
drew the cutouts. I then took a jig saw and cut out the 3/4" hardwood facing in the cabinet.
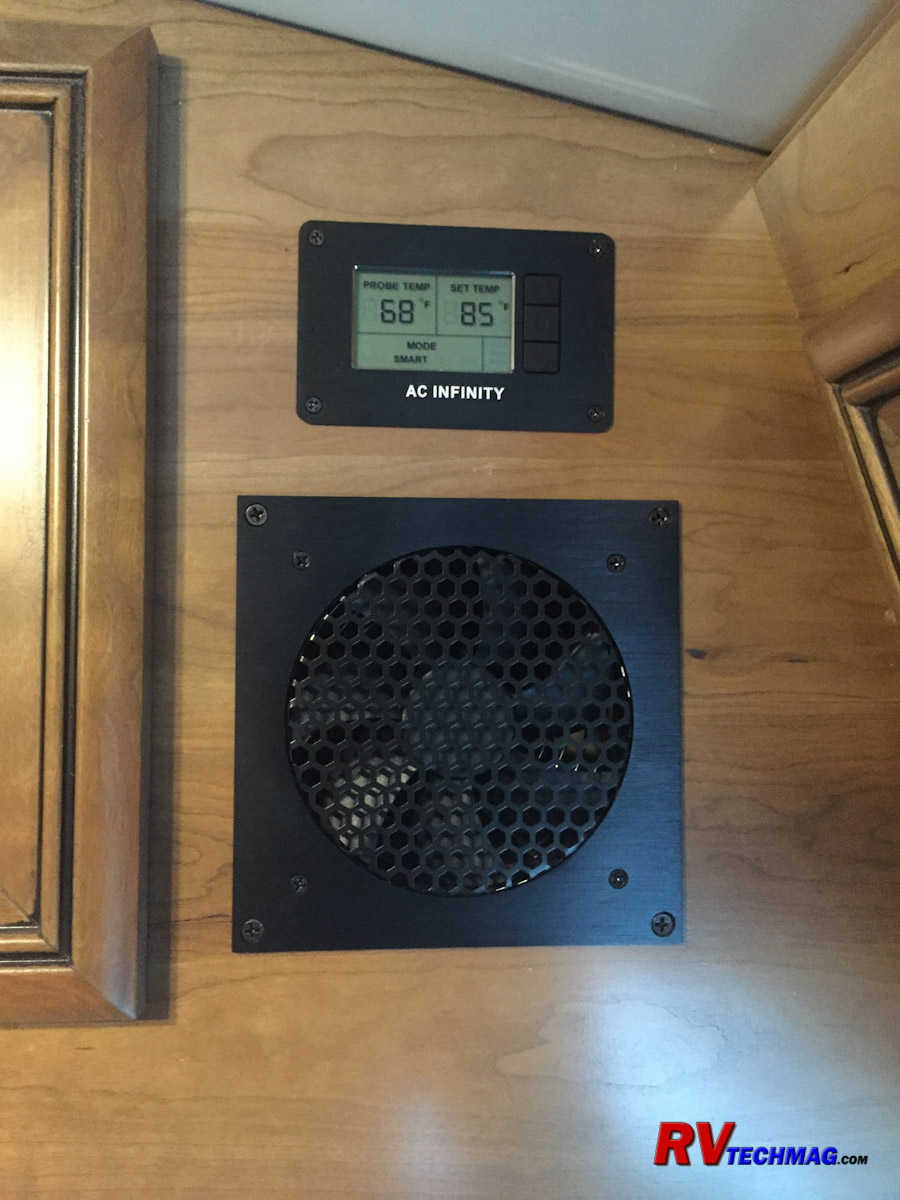
Once the holes were cut I installed the fan and controller using the included screws The fan plugged into the back of the
controller with USB connectors. The temperature probe was taped to a high location in the cabinet above the breaker panels. All that was left was
to supply power to the controller.
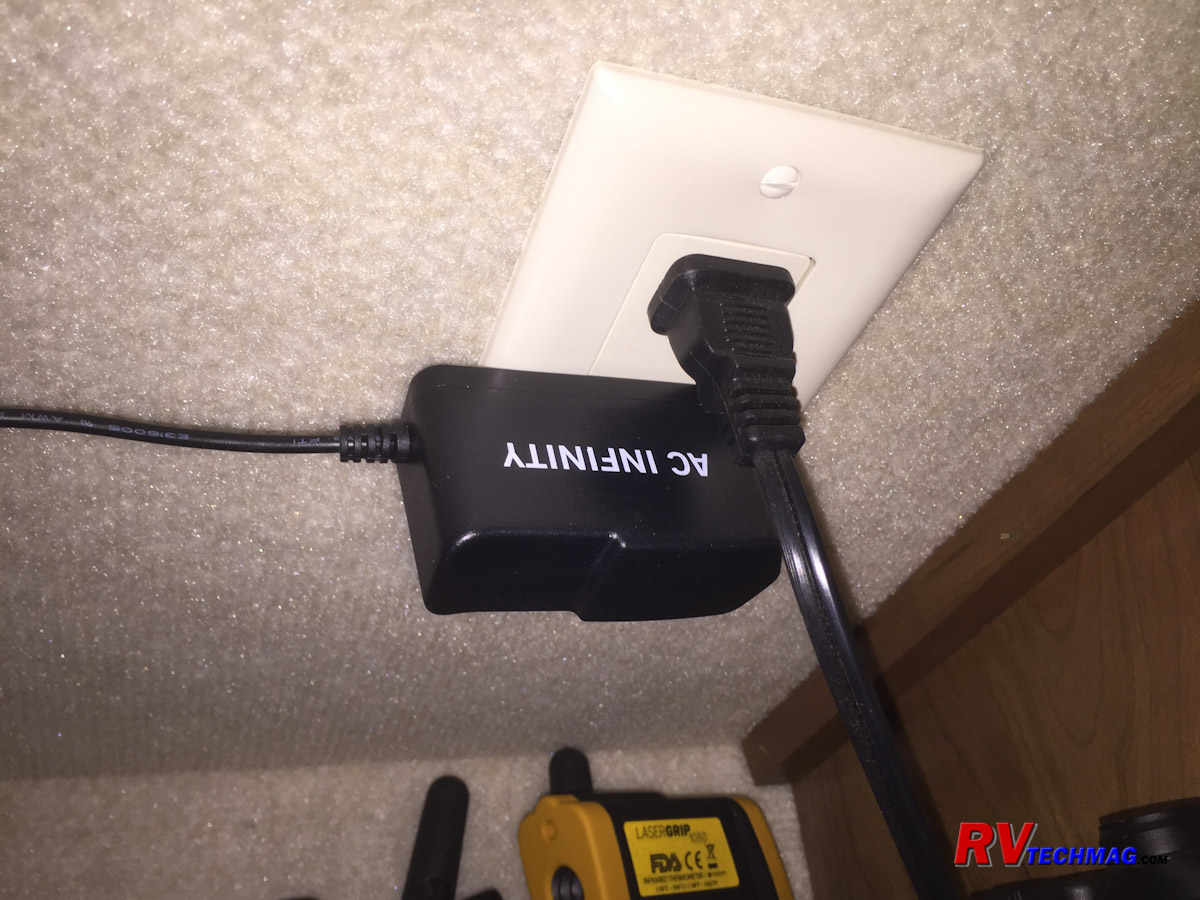
Connecting to a power souce was fairly easy. An adjacent overhead cabinet over the instrument panel had a 120 volt
receptacle located in the ceiling. All I had to do was plug in the power supply adaptor and run the cable over behind the cabinet to connect to
the controller.
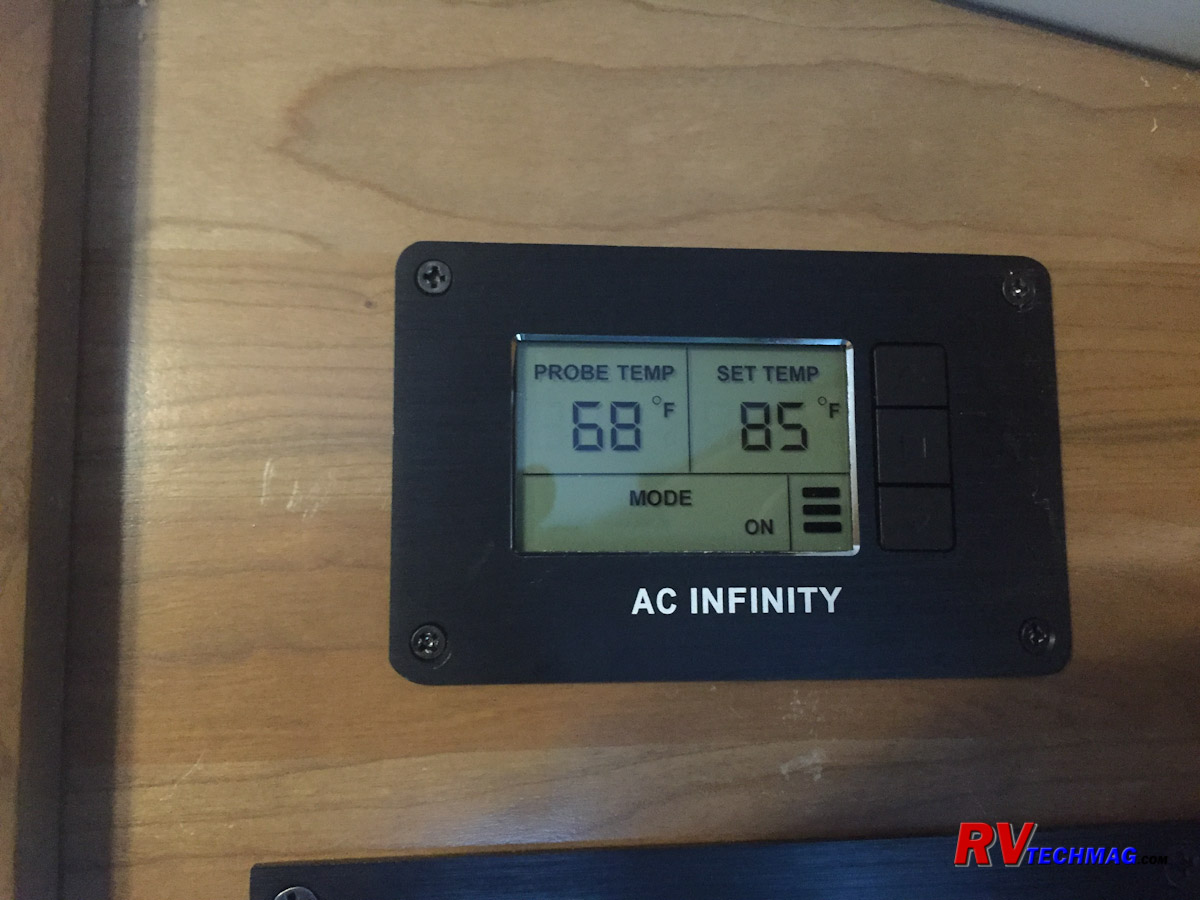
The final step was to program the controller by adjusting the set temperature and choosing an operating mode. If chose 85 as
the set temperature and the Smart mode of operation to let the system determine that best fan speed. The system was now ready to go and I'll never
have to worry about tripped circuit breakers due to overheating.
Return to Home Page
If you enjoyed this article be sure to recommend RVtechMag.com to your friends, like us on Facebook or Twitter
or subscribe to our RSS feed.


|


