Installing Solar Panels
Boosting your Battery power with Solar Energy
Article Date: May, 2007
Article and Photography by Mark Quasius
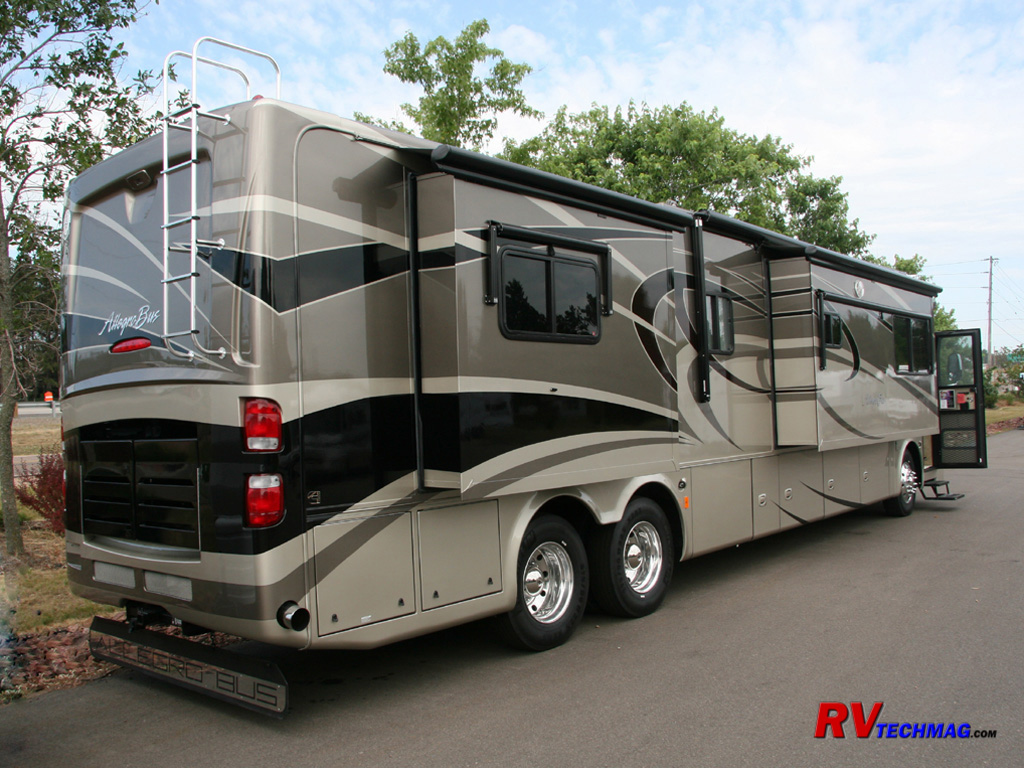
Solar power is very widely misunderstood. Solar panels don't "run" anything. They do contribute to the overall picture by
adding extra "free" amps to the batteries by helping to charge them. To be totally self-contained with solar power you need to do one of two
things - either you need to be real Scrooge when it comes to using electricity or else you will need a massive solar panel system. Solar power isn't
for everyone. If you generally camp with hookups it's a waste of money. If you boondock frequently, having a solar panel system will extend your
battery runtime and allow you to run the generator less frequently. The big advantage is that you can pick and choose when you want to run the
generator set to make it more convenient for you.
There are a number of tech articles on solar power as related to RVs. Please check out the
RV Tech Library's Solar Power section for more information on that.
If you want to delve into solar power I'd suggest going to the Solar-Electric.com
website, which is a division of Northern Arizona Wind & Sun. This is where I purchased all of my solar power equipment.
Tiffin originally supplied a 125 watt panel on the 42QRP Allegro Bus. This is not a bad panel but its intent is to help
power the residential refrigerator option. Its a help, but not enough. There is also a simple charge controller panel in the hallway. This is not
a very good charge controller and can't handle the extra load of additional panels. The secret for me was to add additional panels and upgrade the
charge controller to a larger MPPT style controller. More info on MPPT technology, which boosts average output 30%, is found in the RV Tech Library
pages that I referenced earlier. Because you cannot mix various types of panels, I removed the OEM panel and purchased four 120 watt Evergreen
panels from Wind-Sun. These panels were designed for maximum efficiency in minimal lighting conditions and were made in America rather than the
typical off-shore imports. I've provided details of my installation in the following paragraphs. Hopefully it'll help you out if you are considering
adding solar panels to your RV.
The Installation
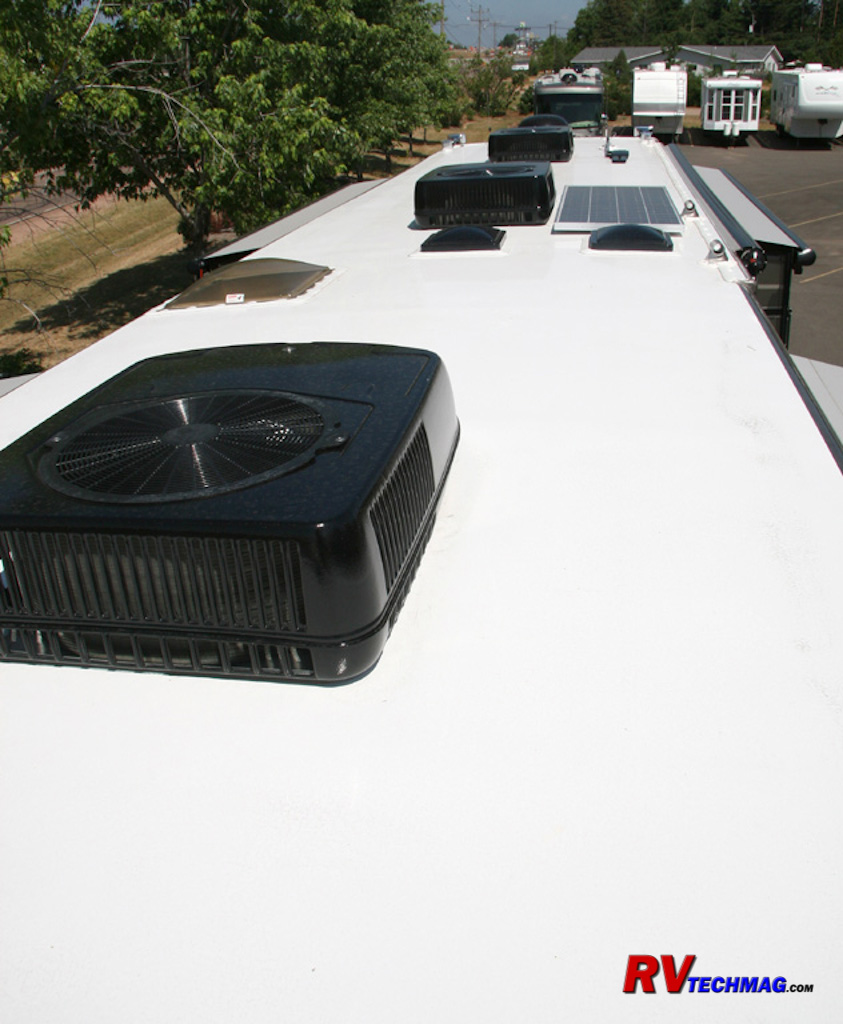
This is an image of the original setup on the Allegro Bus. The 125 watt panel is located to the right of the center
air conditioner unit.
|
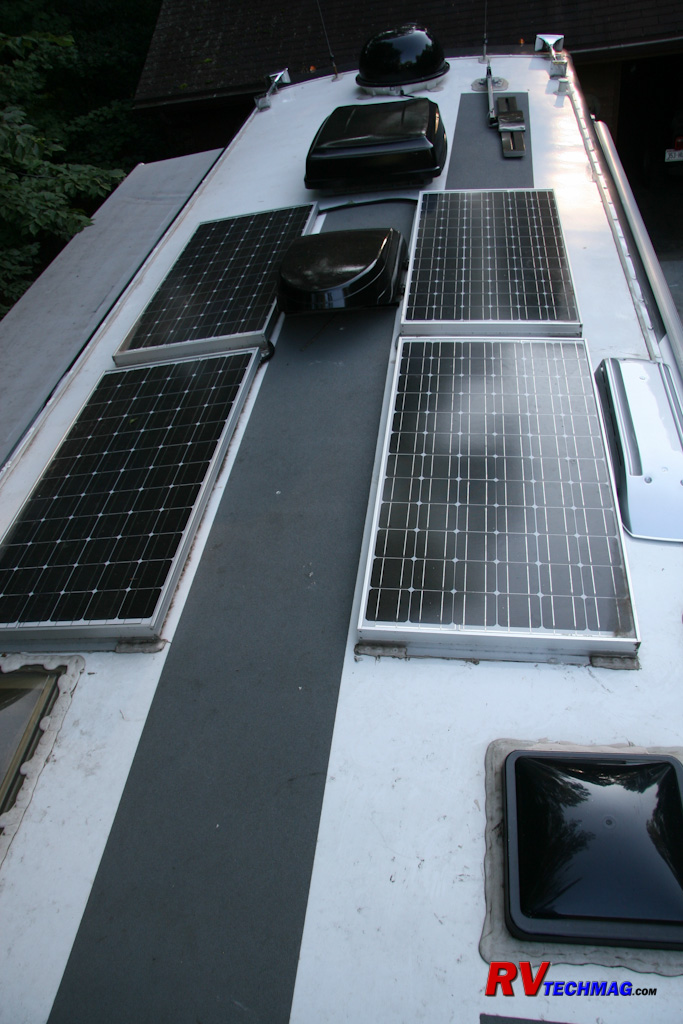
2004 Allegro Bus Installation
|
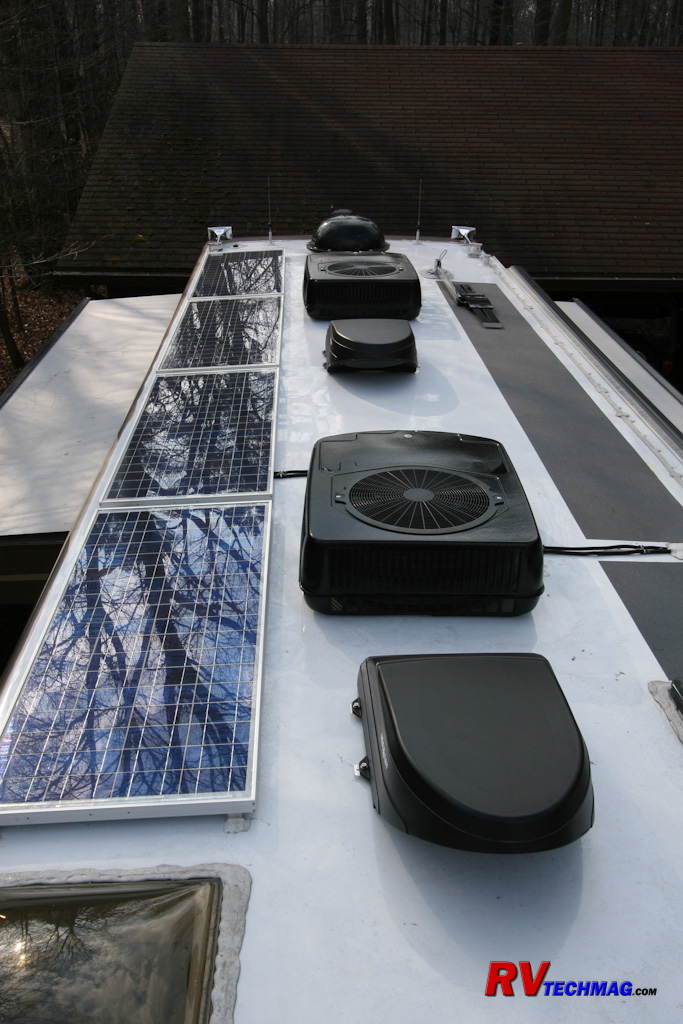
2007 Allegro Bus Installation
|
I made some measurements and found that with the third air conditioner and the arrangement of the various vents and domes
on the roof I actually had more room on my 2004 40DP than on the longer 2007 42QRP. It wasn't a matter of not having enough square footage. It was
a matter of finding enough big spaces to locate the solar panels. Fortunately, I was able to locate all 4 solar panels in a continuous row along
the driver's side of the coach. I then installed 3M Safety-Walk anti-slip material down the passenger's side. The Safety-Walk is a rubberized vinyl
that is typically used in marine applications. It stands up well to sun, rain, and snow. I chose light gray rather than black to keep from absorbing
any excessive heat from the sun. I was able to run the wires from the solar panels across to the same location where the OEM wires entered the
coach. This is a perfect location because a plate covers the access hole and the wires run straight down through a cabinet to the basement, which
makes it very easy to install.
The wiring on the solar panels utilizes the popular MC series of connectors which are a push-in fit so you don't have to
use terminals and/or wire nuts. The panels can be wired in series or parallel. If you run four 120 watt panels in parallel you'll have between 40
and 50 amps on the wiring, depending upon how bright the sun is, which affects the voltage. Days that aren't as bright will see a decrease in
voltage and an increase in amperage. If you run them in series you'll only have a bit over 10 amps to deal with. A 50 amp wire needs to be fairly
heavy, at least #6 and preferably #8 in order to handle that current load. But a 10 -12 amp wire only needs to be a #14 gauge wire, which makes it
much easier. The only drawback to running them in series is that your charge controller needs to be able to handle 49 volts.

I added four 110 watt panel to our previous 2004 Allegro Bus but did not have
the ability to use a higher voltage
feed from the solar array. For that installation I used a 50 amp Blue Sky charge controller and mounted it in a rear basement compartment.
|
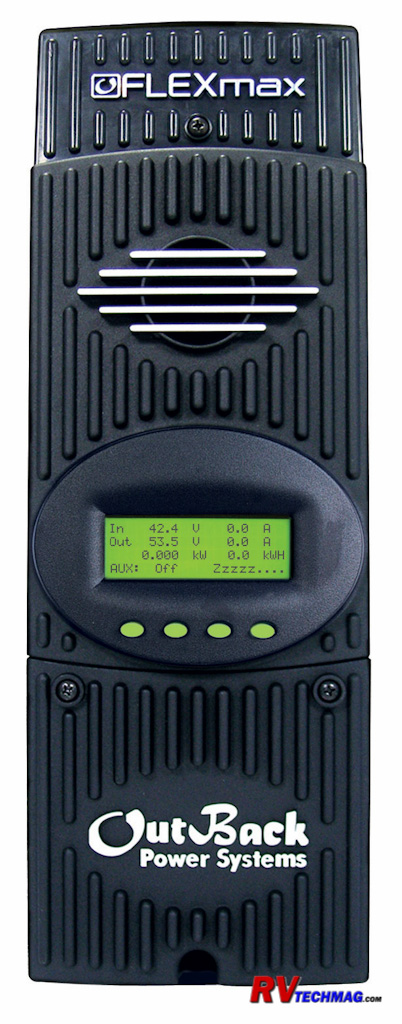
Fortunately, Wind-Sun did handle the Outback MX-60 Charge Controller. This unique controller is capable of handling up to
a 60 volt input (6 panels in series) and transform it to a 12 volt output to charge the batteries. This was the only charge controller that I
knew of at that time that will do this. It's also a MPPT charge controller so it's very effective at maximizing the charge rate. Another benefit
of connecting these panels in series is that the voltage will always be well above 12 volts. This allows the charge controller to scrub off the
extra voltage and exchange it for increased amps. MPPT charge controllers do this but on a 12 volt system, when the light gets dim they start to
lose some of that benefit. With a higher voltage solar array the MPPT feature takes effect over a much longer period of time. It all adds up to
free amps without having to add more panels.
I mounted the MX-60 in the basement area of my coach, actually in the corner near to where the outside entertainment
center is normally located. It's a triangular corner that isn't used for much of anything else so it was a good use of space. I then ran some
larger #8 wires to the batteries. Once you leave the charge controller the amps increase because you are back to 12 volts so you will need to
run the heavier wire from that point back to the batteries.
|
|
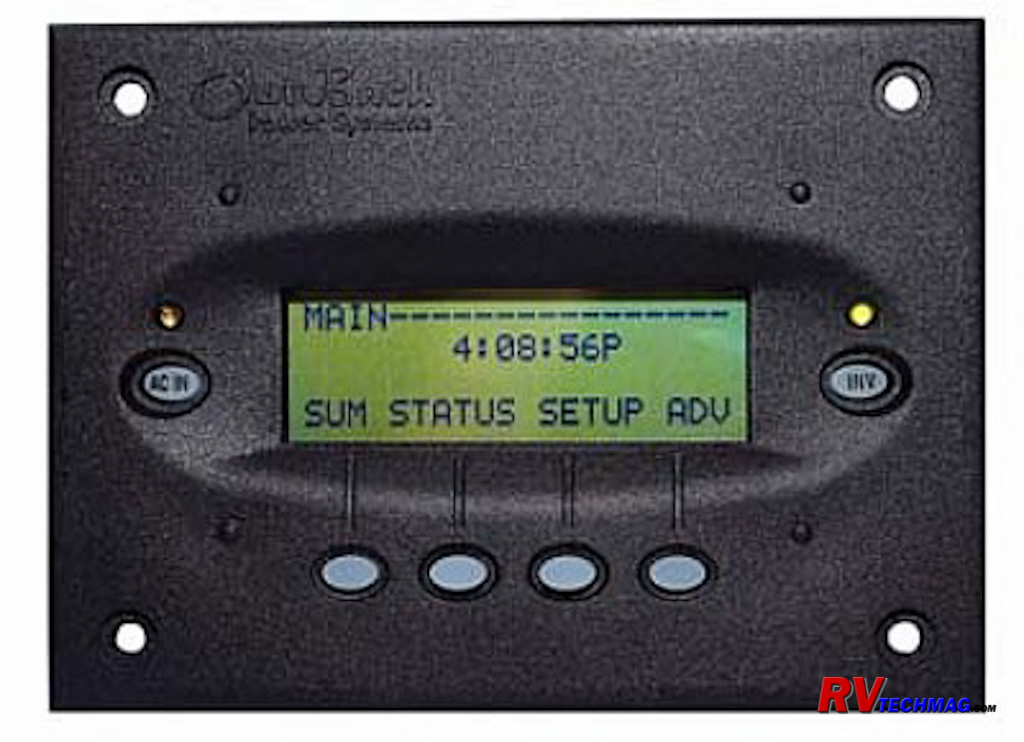
The Outback charge controller was connected to a remote display panel that supplied information on the output
of the solar array as well as voltage and battery condition. I mounted this display in a cabinet in the cockpit area.
Cost Recap
Building a solar panel system can add up. It's not just "a" solar panel, but a "system", and systems
have multiple pieces therefore the price multiplies. Following is a recap of the system as I installed it. These prices were current (no pun intended)
at Wind-Sun as of fall 2006, when I ordered these items so it should give you a ballpark figure as to what an effective system will run you.
(4) Evergreen KC-120MC 120 Watt solar panels @ $585.00 each = $2,340.00
(4) Aluminum Z Brackets to mount the panels @ $6.00/pair = $24.00
(1) set of 50' MC cables @ $17.95
(4) 6' MC cables @ $9.00 each = $36.00
Outback MX-60 Charge Controller = $495.00
Remote Battery Temperature Sender for MX-60 = $22.50
Sub-Total = $2,935.45
Add in a bit for freight and you're probably right around $3,000.00
Summary
This system provides some free amps of battery charging power. Does it run my RV's electrical system? Hardly! But it does allow
me to boondock with the residential fridge and choose when I need to run my generator set to maintain an adequate battery charge. This, in combination
with eight AGM batteries, gives me a nice long runtime between charges.
Return to Home Page
If you enjoyed this article be sure to recommend RVtechMag.com to your friends, like us on Facebook or Twitter
or subscribe to our RSS feed.


|


